Bathroom Renovations Guardamar del Segura: Expert Guide
Introduction
Planning bathroom renovations in Guardamar del Segura means understanding the specific challenges of coastal properties, older apartment blocks, and the local climate. Whether you own a holiday flat near the beach or a permanent home inland, renovating a bathroom here involves dealing with hard water, humidity, ageing pipes, and sometimes strict community rules. This guide walks you through the entire process—from choosing materials and layouts to managing timelines and avoiding common mistakes—so you can plan your project with confidence.
Why Guardamar Bathrooms Need Special Attention
Guardamar del Segura sits right on the coast, and its mix of older Spanish apartment blocks and newer developments means bathrooms face distinct problems. Hard water leaves limescale on taps, shower screens, and tiles within weeks. Older buildings—especially those from the 1980s and 1990s—often have poor ventilation, leading to mould on silicone joints and grout. Salt air accelerates corrosion on metal fixtures, and many flats have original pipes that leak or restrict water pressure.
In older comunidades, bathrooms are small, often just 3–4 m², with a bathtub squeezed into a narrow space. Original finishes—ceramic tiles in dated colours, single-glazed windows, surface-mounted boilers—are common. If your property has not been updated in twenty years, you will probably find cracked grout, stained silicone, and a layout that wastes every centimetre. A full renovation solves these issues and adds real value, especially if you plan to rent or sell.
Planning Your Bathroom Renovation in Guardamar del Segura
Setting a Realistic Budget
Budgets for bathroom renovations in Guardamar del Segura vary widely. A basic refresh—new tiles, sanitary ware, taps, and a shower screen—in a small bathroom typically starts around €3,500–€5,000. A mid-range project with porcelain tiles, a walk-in shower, concealed cistern, and quality taps runs €6,000–€9,000. High-end finishes—microcement walls, large-format porcelain slabs, thermostatic shower systems, underfloor heating—can push the total above €12,000.
Several factors shift the price. Removing a bathtub and installing a low-profile shower tray requires waterproofing and sometimes raising the floor, adding €800–€1,200. Moving plumbing or waste pipes costs more because you need to open walls and possibly coordinate with the community if you share a vertical stack. Older buildings often hide surprises: rotted floor joists, asbestos pipe lagging, or electrical cables that do not meet current standards. Always keep a contingency of 10–15% for these discoveries.
Choosing the Right Layout
Most Guardamar bathrooms are compact, so layout matters. Replacing a bathtub with a walk-in shower instantly makes the room feel larger and safer, especially for older owners or holiday rentals. Position the shower in the corner farthest from the door to keep the floor dry and maximise usable space. Wall-hung toilets and vanities free up floor area and make cleaning easier—important in a humid coastal climate where dust and salt settle quickly.
If your bathroom has a window, place the shower opposite or beside it to improve ventilation. If there is no window, install a quality extractor fan (minimum 100 m³/h) with a timer or humidity sensor. In older flats, the original ventilation duct may be blocked or shared with neighbours, so check it works before you tile over the ceiling. For very small bathrooms, consider a sliding door or a pocket door to save the swing space of a traditional door.
Permits and Community Rules
Bathroom renovations usually require an obra menor permit or declaración responsable from Guardamar town hall. The process is straightforward for like-for-like replacements, but if you move plumbing, change the bathroom footprint, or touch structural elements, the town hall may ask for drawings and a technical report. Rules and fees vary, so confirm requirements with the ayuntamiento or ask your contractor to handle it.
If you live in a community of owners, notify the president in writing before you start. Some statutes require formal approval for any work that affects shared services (water, waste pipes, façade). Check the allowed working hours—typically 08:00–14:00 and 16:00–20:00 on weekdays, never Sundays or public holidays. Ignoring these rules can result in fines or orders to stop work, delaying your project by weeks.
Free visit and quote, fixed price in writing and a guarantee on the works.
Step-by-Step: The Renovation Process
1. Initial Visit and Quote
A professional contractor visits your home, measures the bathroom, checks the existing plumbing and electrics, and discusses your needs. This visit should be free and last at least thirty minutes. The contractor will ask about your budget, preferred materials, and any specific problems—low water pressure, leaks, mould. They should also inspect the floor structure (wooden joists or concrete slab) and the condition of walls, because these affect waterproofing and tiling.
Within a few days, you receive a detailed written quote listing all materials, labour, timelines, and payment terms. The quote should specify tile brands and models, sanitary ware references, tap finishes, and whether it includes removing and disposing of old materials, applying for permits, and cleaning up daily. Companies like Reformas Baño Alicante provide a fixed-price quote after this visit, so you know the total cost upfront with no surprises.
2. Demolition and Removal
Demolition takes one to two days. The team removes the old toilet, sink, bathtub or shower, tiles, and any built-in furniture. They disconnect water and waste pipes, strip tiles from walls and floor, and often remove the ceiling if you are installing new lighting or an extractor fan. Dust and noise are unavoidable, so seal the bathroom door with plastic sheeting and open windows in other rooms.
In older Guardamar flats, demolition sometimes reveals problems: rotted wooden beams under the floor, old lead or galvanised-steel pipes, or electrical cables without earth. If the contractor finds these, they will explain the issue and give you options to fix it. Skipping these repairs is false economy—they will fail soon and cause water damage or electrical faults.
3. First Fix: Plumbing and Electrics
Once the space is stripped, the plumber installs new supply pipes (usually PEX or multilayer pipe) and waste pipes (PVC). They position the shower drain, toilet outlet, and sink waste, ensuring correct falls so water drains freely. If you are installing a walk-in shower with a low-profile tray, the plumber may need to lower the floor or build a small platform—this is normal in older buildings with limited floor depth.
The electrician runs new cables for lights, extractor fan, shaver socket, and any heated towel rail or underfloor heating. All cables should be concealed in walls or ceiling voids, never surface-mounted. They install a new consumer unit if the existing one is outdated and ensure the bathroom circuit has RCD protection. This stage takes one to two days, depending on how much you are changing.
4. Waterproofing
Waterproofing is critical in coastal areas with high humidity. The contractor applies a liquid membrane or sheet membrane to the shower area, around the toilet and sink, and on the floor. In wet areas (inside the shower), the membrane goes at least 200 cm up the walls; outside the shower, 30 cm is usually enough. Corners, pipe penetrations, and the floor-wall joint get reinforcing tape to prevent cracks.
After the membrane cures (usually 24 hours), the team tests it by flooding the floor and checking for leaks. Skipping or rushing this step causes problems later—water seeps behind tiles, rots the floor structure, and leaks into the flat below. In comunidades, a leak can make you liable for damage to neighbours' homes, so insist on proper waterproofing even if it adds a day to the schedule.
5. Tiling
Tiling takes two to four days, depending on the size of the bathroom and the complexity of the layout. Porcelain tiles are the best choice for Guardamar: they resist moisture, limescale, and salt better than ceramic, and they are easier to clean. Large-format tiles (60×60 cm or 60×120 cm) have fewer grout lines, reducing places for mould to grow. Rectified edges allow narrow grout joints (2–3 mm), which look modern and stay cleaner.
For walls, white or light-grey porcelain is practical and timeless. Textured or relief tiles in the shower add grip underfoot and visual interest. Avoid very dark tiles—they show every water spot and limescale mark. On the floor, choose a tile with a slip rating of at least R10 (R11 in the shower) to prevent falls when wet. The tiler applies adhesive with a notched trowel, sets each tile level, and uses spacers to keep joints consistent.
Grout colour matters. Light grey or beige grout hides limescale better than pure white, which yellows over time. Epoxy grout costs more but resists staining and mould, making it ideal for shower floors and walls. After grouting, the tiler cleans off the haze and seals porous surfaces if needed.
6. Second Fix: Installing Sanitary Ware and Fittings
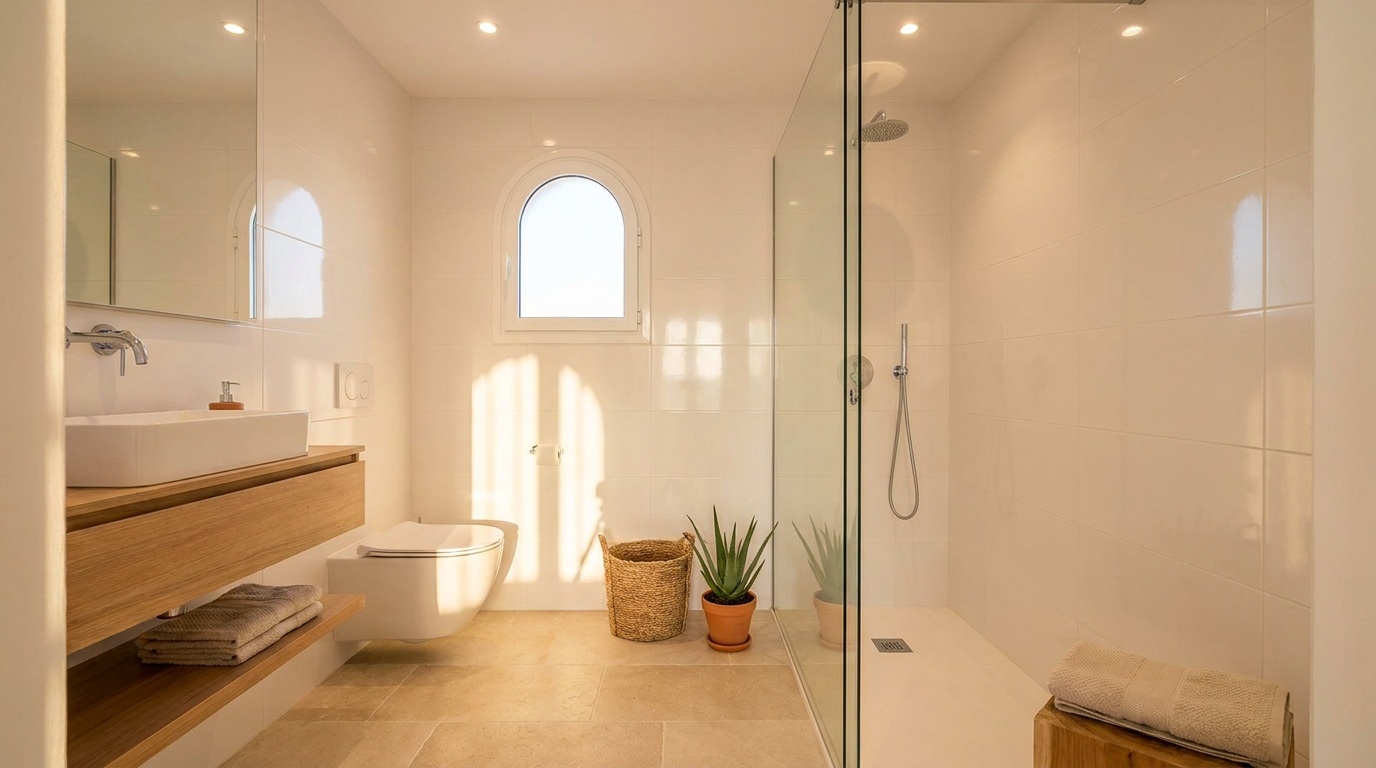
Once the tiles are set, the plumber returns to install the toilet, sink, shower tray or screen, taps, and any accessories. Wall-hung toilets require a concealed cistern frame, which is built into the wall during first fix; the plumber now fits the pan and flush plate. The sink sits on a wall-hung vanity or pedestal, and the plumber connects the taps and waste.
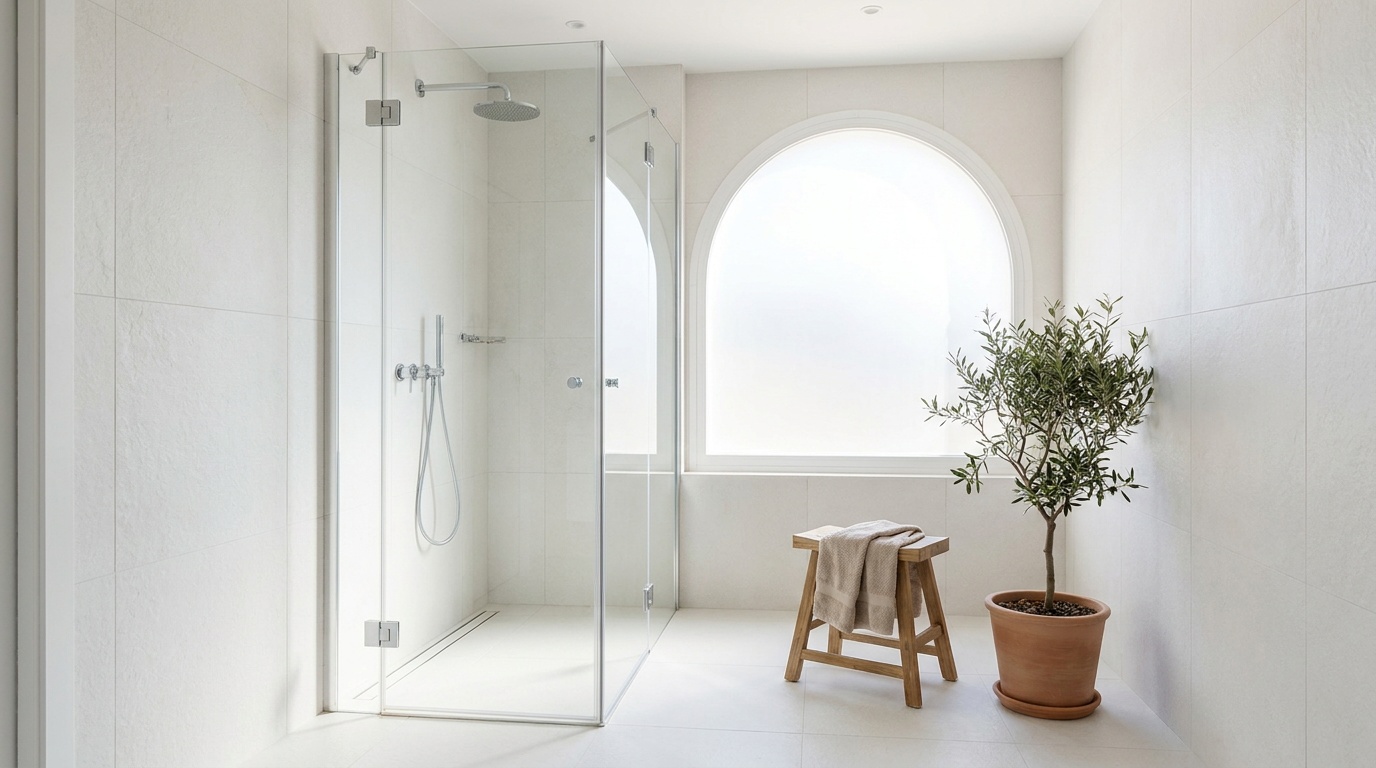
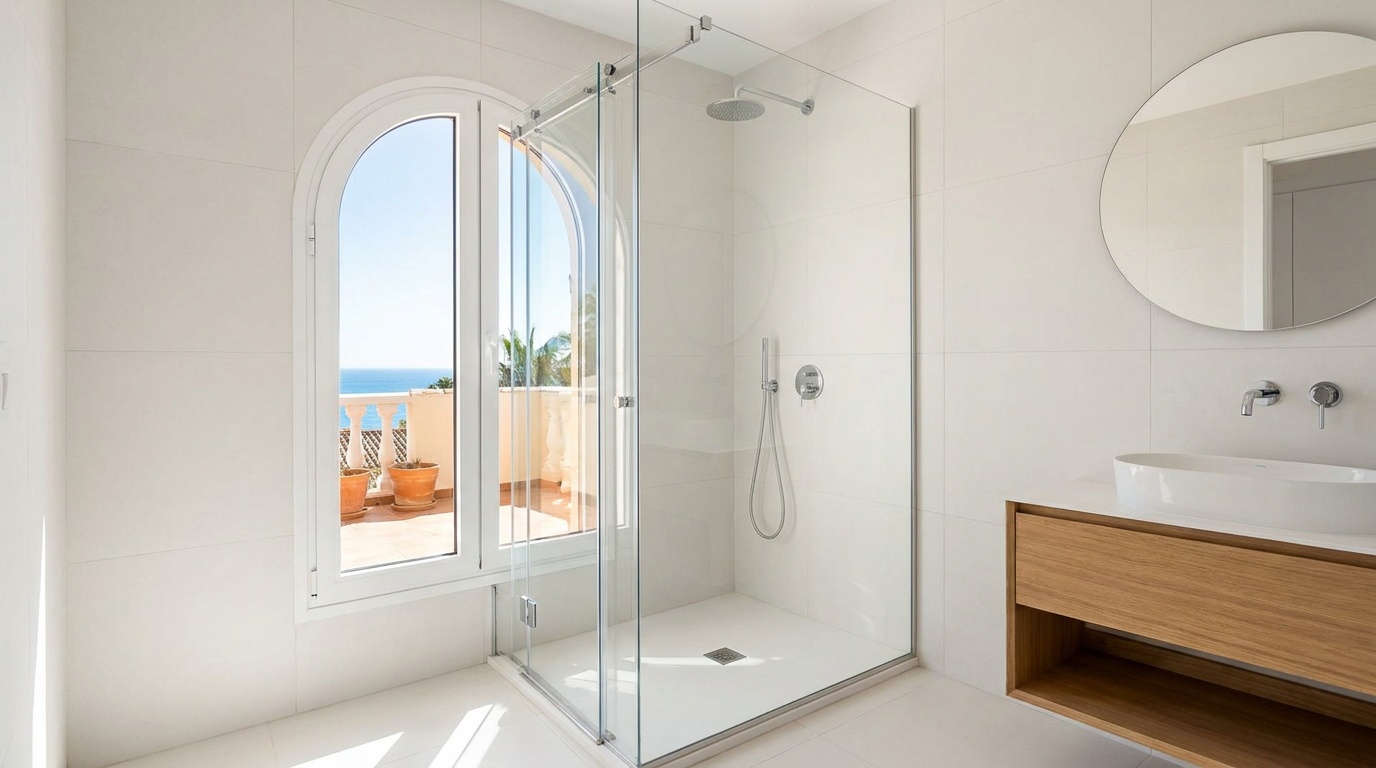
In the shower, a frameless glass screen (8 mm tempered glass) looks clean and modern, but costs more than a framed screen or curtain. Hinged or sliding screens suit different layouts; your contractor will recommend the best option for your space. Taps should be chrome or stainless steel—brass or brushed finishes corrode faster in the coastal climate. A thermostatic shower valve is worth the extra cost; it maintains constant temperature and prevents scalding.
7. Finishing Touches
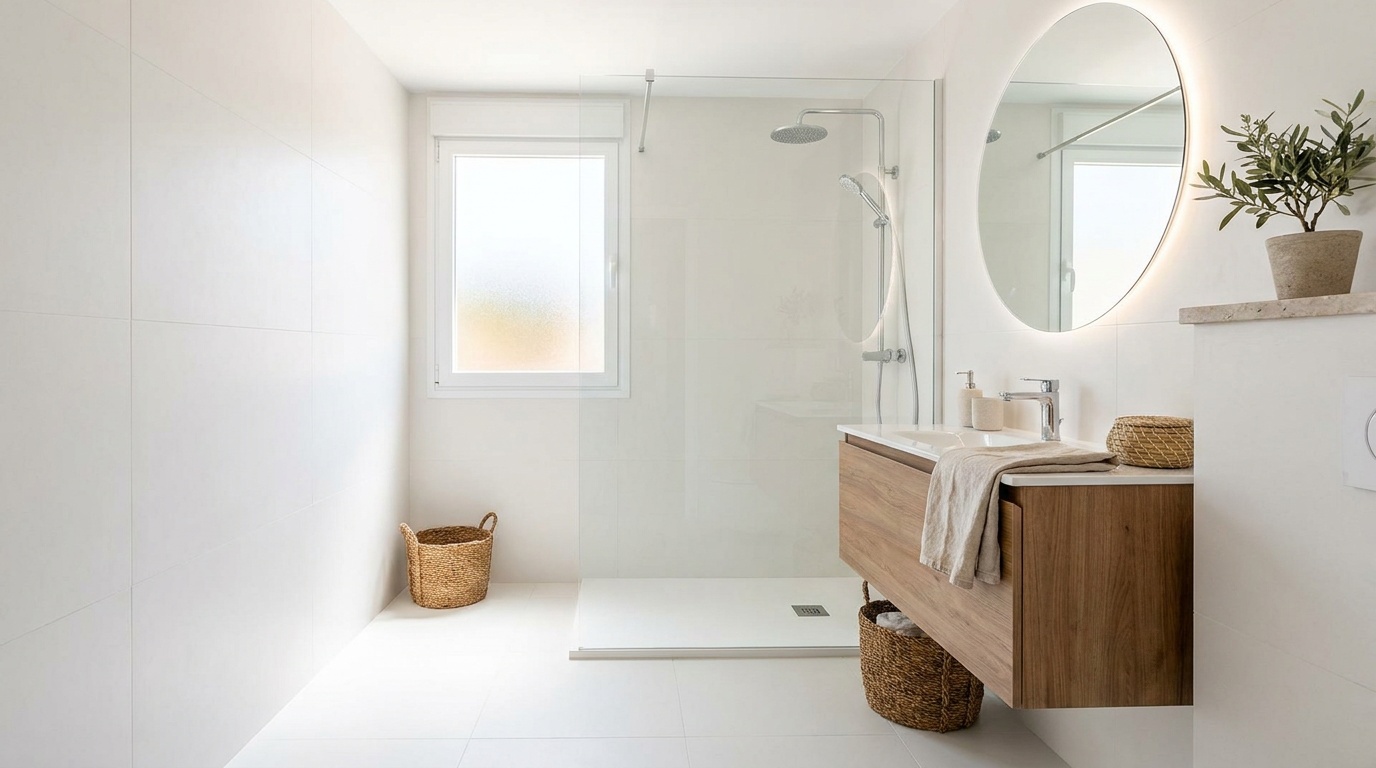
The electrician fits lights, switches, and the extractor fan. LED downlights are energy-efficient and bright; install at least two in a small bathroom for even light. A mirror with integrated LED strips or a backlit mirror adds a luxury feel without taking up space. The contractor applies silicone sealant around the shower tray, sink, and any joints between tiles and sanitary ware. Use anti-fungal silicone in clear or white; it lasts longer in humid conditions.
Finally, the team cleans the bathroom, removing dust, adhesive smears, and grout residue. They should leave the space ready to use, with all packaging and old materials removed. A good contractor will walk you through the finished bathroom, explain how to use the taps and flush, and give you care instructions for the tiles and grout.
Materials That Work in Guardamar's Climate
Porcelain Tiles vs. Ceramic
Porcelain tiles outperform ceramic in every way that matters here. They absorb less than 0.5% water (ceramic absorbs 3–10%), so they resist frost, salt, and limescale. Porcelain is harder and more scratch-resistant, important if you have a rental property with high turnover. Brands like Porcelanosa, Pamesa, and Saloni offer wide ranges at different price points; expect to pay €20–€50 per m² for good-quality porcelain.
Large-format tiles (60×120 cm or 80×80 cm) create a seamless look and reduce grout lines, which means less cleaning and less mould. Rectified edges allow tight joints (2 mm), which look sharp and modern. Smaller mosaics or metro tiles work well as feature strips or in niches, but avoid covering large areas—they have too many grout lines for a humid coastal bathroom.
Microcement and Other Wall Finishes
Microcement is popular for a seamless, contemporary look. Applied in thin layers over existing tiles or plaster, it creates a smooth, waterproof surface with no grout lines. It works on walls, floors, and even shower trays, and it comes in many colours. Microcement costs more than tiles (around €80–€120 per m² installed) and requires a skilled applicator, but it is durable and easy to clean.
Painted walls are not suitable in wet areas; moisture causes paint to peel and mould to grow. If you want a budget option, use moisture-resistant plasterboard with a waterproof membrane, then tile over it. Wallpaper—even vinyl—has no place in a Guardamar bathroom.
Shower Trays and Screens
Resin shower trays (also called stone-resin or solid-surface trays) are the current standard. They are lighter and warmer underfoot than ceramic, and they come in many sizes and colours. A low-profile tray (3–5 cm high) gives a modern, almost flush look, but requires careful installation to ensure the waste drains properly. Expect to pay €150–€400 for a quality resin tray, depending on size.
Tempered glass screens (6–8 mm) are safest and easiest to clean. Frameless screens look elegant but cost more; semi-framed screens offer a good balance of style and price. Treat the glass with a water-repellent coating (often included) to reduce limescale buildup. Avoid plastic curtains—they trap moisture, grow mould, and look cheap.
Taps and Fixtures
Chrome taps are the most practical choice: they resist corrosion, limescale wipes off easily, and they suit any style. Thermostatic shower valves cost €100–€300 more than manual mixers, but they prevent temperature swings when someone flushes a toilet or runs a tap elsewhere in the flat. A large overhead shower (25–30 cm diameter) and a separate hand shower on a slide rail give flexibility.
Brushed nickel, brass, or matt black finishes look stylish but require more maintenance—hard water leaves visible spots, and salt air can cause pitting. If you choose these finishes, commit to wiping them dry after every use. Wall-hung taps for sinks save counter space and look clean, but they cost more to install because the plumber must conceal the pipework in the wall.
Common Mistakes and How to Avoid Them
Skipping Waterproofing or Cutting Corners
The biggest mistake is poor or missing waterproofing. Some contractors apply a thin coat of paint-on membrane and call it done; others skip it entirely and rely on grout to keep water out. Grout is porous—it will let water through. Insist on a proper liquid or sheet membrane, applied in two coats, with reinforcing tape at all joints and penetrations. Ask to see photos of the membrane before tiling starts.
Ignoring Ventilation
Many older Guardamar bathrooms have no window and a weak or blocked extractor fan. Without good ventilation, moisture condenses on walls and ceilings, causing mould and peeling paint. Install a powerful fan (100–150 m³/h) with a humidity sensor or timer, so it runs for fifteen minutes after you finish showering. If the original duct is blocked, the contractor may need to install a new one or use a fan that vents through an external wall.
Choosing the Wrong Tiles
Dark tiles show every water spot and limescale streak. Glossy tiles look elegant in the showroom but are slippery when wet—choose a matt or textured finish for floors and shower areas. Porous tiles (natural stone, unglazed terracotta) absorb water and stain easily; they need regular sealing and are not worth the hassle in a humid coastal climate. Stick to glazed porcelain for walls and floors.
Not Planning for Storage
Small bathrooms need smart storage. A wall-hung vanity with drawers keeps toiletries out of sight and makes the floor easier to clean. Recessed niches in the shower (built during tiling) hold shampoo and soap without cluttering the space. Medicine cabinets with mirrors combine storage and function. Plan these details during the design stage—adding them later is difficult and expensive.
Underestimating the Timeline
A full bathroom renovation in Guardamar del Segura takes two to three weeks from start to finish, sometimes longer if you are waiting for custom materials or if the contractor finds hidden problems. Rushing the job leads to mistakes: tiles laid before adhesive cures, silicone applied to damp surfaces, grout that cracks because it dried too fast. Be patient and let each stage cure properly.
What to Expect During the Work
Living through a renovation is disruptive, but you can minimise the hassle. The bathroom will be unusable for the entire project, so arrange access to another toilet and shower—at a neighbour's, a nearby gym, or a second bathroom if you have one. Dust spreads despite plastic sheeting, so cover furniture in adjacent rooms and expect to vacuum daily.
Noise is unavoidable during demolition and drilling. Warn your neighbours in advance and stick to permitted hours. Most contractors work 08:00–14:00, take a break, then return for a few hours in the afternoon. They should clean up at the end of each day, bagging rubble and sweeping dust, but the space will not be spotless until the final clean.
Water and electricity will be turned off at various points. The contractor should tell you in advance so you can plan. Keep a bucket of water handy for flushing toilets during plumbing work, and charge your devices before the power goes off. If you are in a community, the contractor may need to access shared meter cupboards or waste stacks—coordinate with the president to avoid delays.
Maintaining Your New Bathroom
Once the work is finished, a few simple habits keep your bathroom looking new. Wipe down tiles, glass, and chrome after every shower to prevent limescale buildup—this takes thirty seconds and saves hours of scrubbing later. Use a squeegee on the shower screen and a microfibre cloth on taps. Ventilate the room by running the extractor fan or opening the window for fifteen minutes after bathing.
Clean grout lines every few weeks with a mild detergent and a soft brush. Avoid bleach and harsh chemicals—they damage grout and silicone over time. If you notice mould on silicone joints, remove it immediately with a fungicidal spray; if it keeps coming back, the silicone may need replacing. Check under the sink and around the toilet base for leaks every few months—catching a small drip early prevents major water damage.
Guardamar's hard water clogs aerators in taps and showerheads. Unscrew them every six months, soak in white vinegar overnight, then rinse and refit. If you have a thermostatic valve, follow the manufacturer's maintenance schedule—usually an annual service to clean filters and check the cartridge. Treat your new bathroom well, and it will serve you for fifteen years or more.
Why Local Experience Matters
Renovating a bathroom in Guardamar del Segura is not the same as renovating one in Madrid or Manchester. Coastal humidity, hard water, older building stock, and community rules all require local knowledge. A contractor who works regularly in this area knows which materials stand up to the climate, how to deal with ageing pipes in 1980s apartment blocks, and how to navigate the town hall's permit process without delays.
Companies like Reformas Baño Alicante, which focus on the Costa Blanca, bring that experience to every project. They offer a free home visit and provide a fixed-price quote, so you know exactly what you are paying before work starts. More importantly, they understand the specific challenges of bathrooms in Guardamar, Torrevieja, Orihuela Costa, and nearby towns—limescale, ventilation, small layouts, and community regulations—and they plan every job to address them.
Choosing a local contractor also makes communication easier. You can visit their office, see examples of recent work, and get references from neighbours who have used them. If a problem arises after the work is finished, they are nearby to fix it quickly. For a project as important as a bathroom renovation, that peace of mind is worth a great deal.
FAQ
How long does a bathroom renovation take in Guardamar del Segura?
A full bathroom renovation typically takes two to three weeks from demolition to final clean. The timeline depends on the size of the bathroom, the extent of plumbing and electrical changes, and whether the contractor finds hidden problems like old pipes or damaged floor structure. Allow extra time if you are ordering custom materials or waiting for permits from the town hall.
Do I need a permit to renovate my bathroom in Guardamar?
Most bathroom renovations require an obra menor permit or declaración responsable from Guardamar town hall, especially if you are moving plumbing, changing layouts, or doing structural work. Like-for-like replacements may not need a permit, but rules vary. Check with the ayuntamiento or ask your contractor to handle the paperwork to avoid fines or delays.
What is the best material for bathroom tiles in a coastal area?
Porcelain tiles are the best choice for bathrooms in Guardamar del Segura. They absorb less than 0.5% water, resist limescale and salt, and are harder and more durable than ceramic. Large-format porcelain with rectified edges and narrow grout lines looks modern, is easier to clean, and reduces mould growth in the humid coastal climate.
How much does it cost to renovate a small bathroom in Guardamar?
A basic renovation of a small bathroom (3–4 m²) with new tiles, sanitary ware, taps, and a shower screen typically costs €3,500–€5,000. Mid-range projects with porcelain tiles, walk-in shower, and quality fixtures run €6,000–€9,000. High-end finishes like microcement, large-format slabs, and underfloor heating can exceed €12,000. The final price depends on materials, layout changes, and any hidden problems discovered during demolition.
How do I prevent mould and limescale in my new bathroom?
Wipe down tiles, glass, and taps after every shower to prevent limescale buildup. Run the extractor fan or open the window for fifteen minutes after bathing to reduce humidity. Use anti-fungal silicone in joints and clean grout lines regularly with mild detergent. Installing a powerful extractor fan with a humidity sensor and choosing large-format porcelain tiles with narrow grout lines also helps prevent mould growth.