Small Bathroom Renovation Ideas Costa Blanca That Work
If you live in a flat or townhouse in Torrevieja, Orihuela Costa, La Zenia or Playa Flamenca, you already know that most bathrooms here are tight on space. Finding small bathroom renovation ideas Costa Blanca homeowners can actually use means understanding what fits in two or three square metres, what the local climate does to materials, and how to work around the plumbing and community rules that come with older buildings.
Why Costa Blanca Bathrooms Are Often Small—and What That Means for Your Renovation
Most flats built between the 1980s and early 2000s in towns like Cabo Roig, Guardamar del Segura and Ciudad Quesada squeezed bathrooms into the smallest possible footprint to maximise living and bedroom space. You'll typically find a bathroom measuring 1.5 m × 1.8 m or 2 m × 2 m, sometimes with a window barely wide enough to ventilate properly.
The coastal climate adds another layer. Humidity from the sea combines with poor ventilation in older flats, encouraging mould on grout and sealant. Hard water leaves limescale on taps, shower screens and tiles within weeks. If your building is more than twenty years old, the cast-iron or galvanised steel pipes may be corroded, and you'll need to factor in re-piping when you renovate.
Community rules can also limit what you change. Many urbanisations require an obra menor permit or declaración responsable if you move plumbing or knock down a partition wall. Always check with your town hall—Torrevieja, Orihuela and Pilar de la Horadada each have their own process—and confirm with your community administrator before you start.
Layout Tricks That Actually Gain You Space
In a small bathroom every centimetre counts, and the layout is where you win or lose usable floor area. Shifting a toilet ten centimetres or swapping a bath for a walk-in shower can be the difference between a cramped box and a room that feels twice the size.
Replace the Bath with a Walk-In Shower
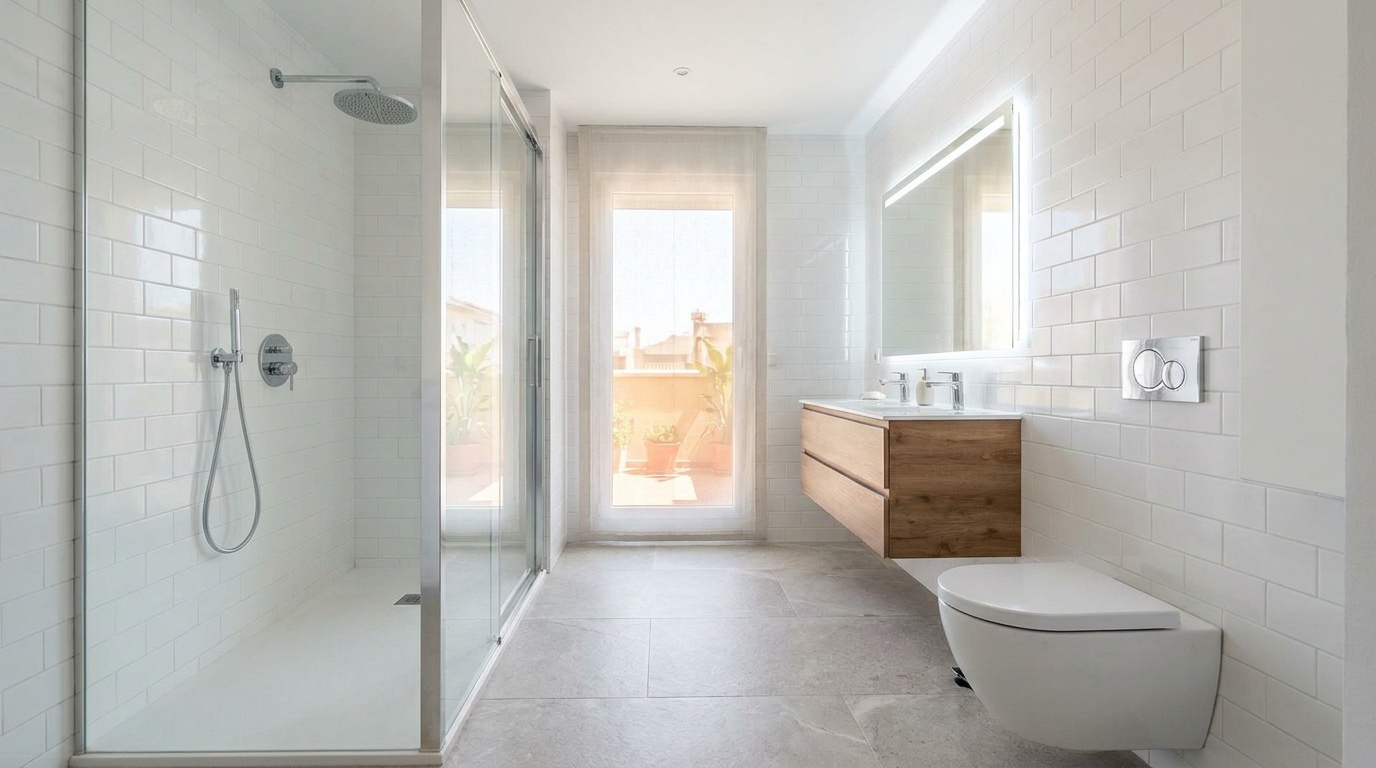
This is the single most effective change. A standard bath occupies about 1.7 m × 0.7 m; a walk-in shower with a low-profile acrylic or resin tray takes 0.9 m × 0.9 m or 1 m × 1.2 m. You gain half a square metre of floor space, which in a two-metre-wide bathroom is enormous.
We install the tray flush with the floor tiles whenever the screed depth allows—usually four to six centimetres. If the screed is too shallow, a low-profile tray (three to four centimetres high) still looks clean and modern. Pair it with a frameless ten-millimetre tempered-glass screen; avoid bulky framed doors that eat into the room visually and physically.
Wall-Hung Toilet and Vanity
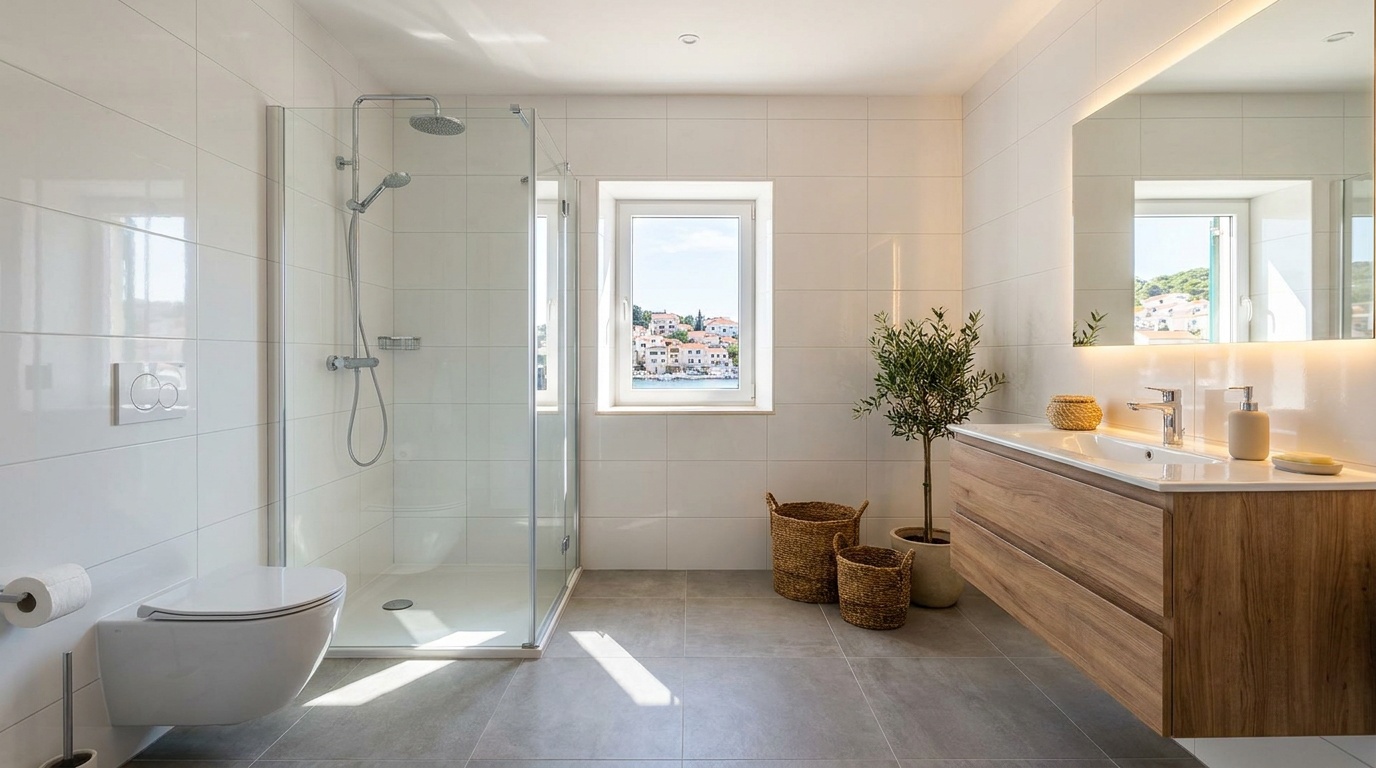
Mounting the toilet and sink cabinet on the wall frees up floor space and makes the room look larger because you see more continuous tile. The concealed cistern sits inside a false wall or frame (we usually build a twelve-centimetre-thick frame with water-resistant plasterboard), which also hides the waste pipe and water supply.
Wall-hung vanities come in depths from thirty to forty-five centimetres. In a narrow bathroom a thirty-five-centimetre-deep unit with an integrated basin gives you storage without blocking the walkway. Choose soft-close drawers over doors; they're easier to use in tight spaces and less likely to bang into the opposite wall.
Corner or Offset Layouts
If your bathroom is long and narrow—common in older Torrevieja flats—place the toilet in one back corner, the shower in the other, and the vanity along the long wall. This keeps the centre of the room open and avoids the claustrophobic feeling of walking down a corridor.
When the door opens inward (and you can't change the swing because of the hallway), make sure it clears the toilet and vanity. Sometimes we move the toilet fifteen centimetres to one side or specify a shorter vanity to gain clearance. Measure twice, order once.
Materials That Survive the Coastal Climate and Hard Water
Choosing the right finishes for a small bathroom on the Costa Blanca isn't just about looks; it's about durability in high humidity, resistance to limescale, and ease of cleaning in a space you use every day.
Porcelain Tiles: Large Format, Rectified Edges
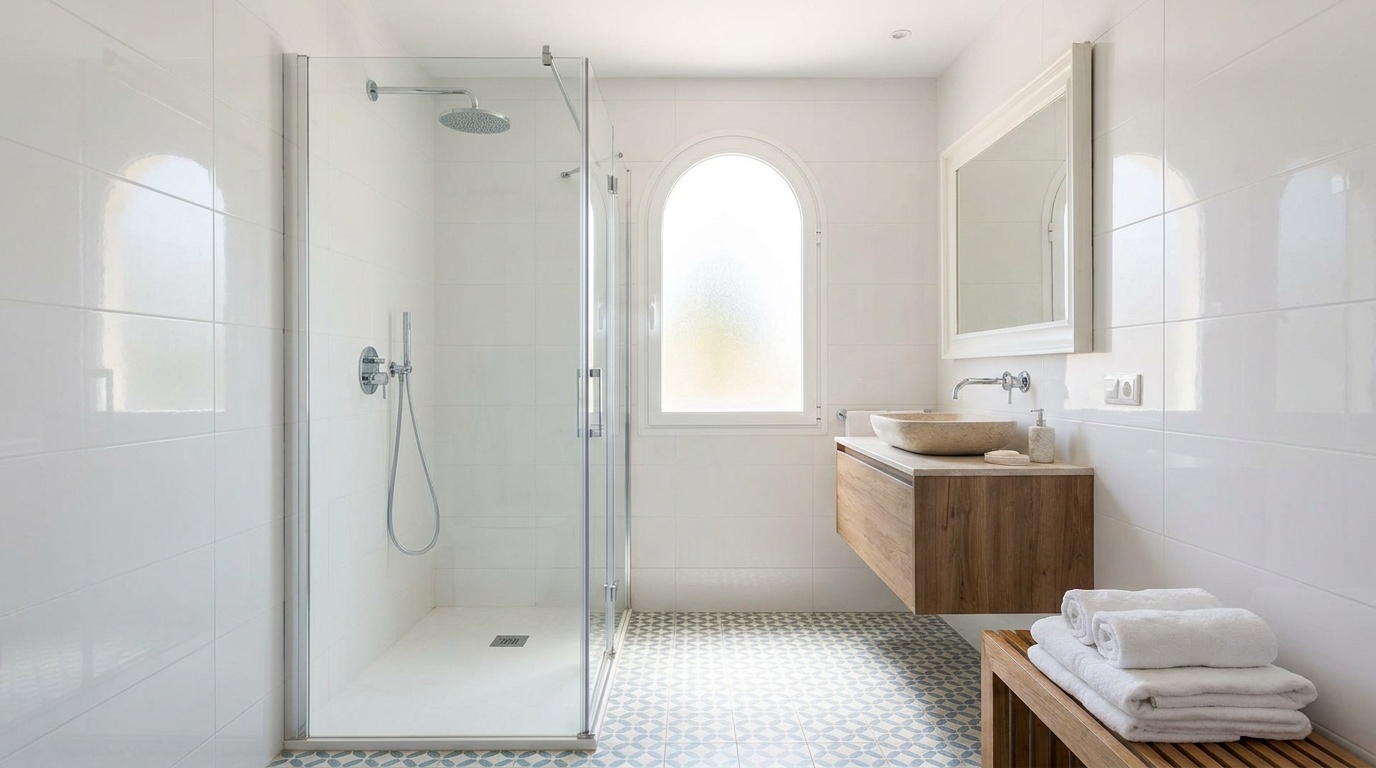
We use porcelain tiles in 60 cm × 60 cm or 60 cm × 120 cm formats for both floor and walls. Large tiles mean fewer grout lines, which makes the room look bigger and gives limescale and mould fewer places to hide. Rectified edges allow grout joints as narrow as two millimetres; use a high-quality epoxy grout in a matching or slightly darker shade to keep those joints sealed against water and humidity.
Matt or satin finishes are safer underfoot than high-gloss, especially in a shower. Light colours—white, cream, pale grey—reflect the often-dim lighting in small bathrooms and make the space feel airier. We've tiled hundreds of bathrooms in La Zenia and Playa Flamenca with 60 × 60 light-grey porcelain, and clients always comment on how much brighter the room feels.
Microcement for a Seamless Look
Microcement is a trowel-applied coating, two to three millimetres thick, that goes over existing tiles or screed. It creates a continuous surface with no grout lines—ideal for wet rooms or if you want a modern, minimalist finish. We seal it with a two-component polyurethane varnish to resist water and limescale.
The downside: microcement costs more than porcelain (material and labour combined), and it requires an experienced applicator. If the substrate isn't perfectly stable or if the building settles, you can get hairline cracks. In older Cabo Roig or Guardamar flats we usually stick with porcelain unless the client specifically wants the seamless aesthetic and understands the trade-off.
Glass Shower Screens and Chrome Taps
Frameless ten-millimetre tempered glass is the standard for walk-in showers. Treat it with a hydrophobic nano-coating (we apply this at the end of the job) so water beads off and limescale build-up slows down. Even so, you'll need to squeegee after every shower and wipe with vinegar or a descaler weekly—hard water here is relentless.
Chrome-plated brass taps and mixers look sharp and resist corrosion better than cheaper zinc alloy. Thermostatic shower mixers are worth the extra fifty to seventy euros; they hold temperature steady even when someone flushes a toilet or runs a tap elsewhere in the flat, which matters in older buildings with fluctuating water pressure.
Free visit and quote, fixed price in writing and a guarantee on the works.
Step-by-Step: What Happens During a Small Bathroom Renovation
Understanding the sequence helps you prepare your home and set realistic expectations. A typical small bathroom in Torrevieja or Orihuela Costa takes ten to fifteen working days from demolition to final clean, depending on whether we're moving plumbing or just renewing finishes.
Days 1–2: Strip-Out and Plumbing Assessment
We remove the old bath, toilet, sink, tiles and any rotten plasterboard. This is noisy and dusty; we seal the doorway with plastic sheeting and run an extractor fan to keep dust out of the rest of the flat. All rubble goes into bags and down to a skip—no throwing tiles off balconies, which some cowboys still do.
Once the room is bare we inspect the waste pipes and water supply. If the pipes are original galvanised steel or show heavy corrosion, we replace them with PEX (cross-linked polyethylene) for hot and cold water and PVC for waste. Re-piping adds two to three days and raises material cost by three hundred to five hundred euros, but it prevents leaks and pressure problems for the next twenty years.
Days 3–5: New Plumbing, Electrical, and Screed
We run new pipes to the planned positions of toilet, shower and vanity, pressure-test the system, and install the shower tray waste. An electrician pulls new cables for lights, extractor fan and any heated towel rail, then fits back-boxes for switches and sockets. Everything gets photographed before we cover it, so you have a record of where pipes and cables run.
If the floor is uneven or we're installing an electric underfloor heating mat, we pour a levelling screed (usually a fast-setting self-levelling compound). This needs twenty-four hours to cure before tiling.
Days 6–9: Tiling Walls and Floor
We tile walls first, starting from the bottom and working up, then tile the floor once the wall adhesive has set. Large-format porcelain requires a notched trowel and back-buttering each tile to avoid voids. Cuts around pipes and in corners must be precise; a three-millimetre gap looks sloppy and lets water through.
Grouting happens the next day. We use epoxy grout for wet areas (shower, around the tray) and cementitious grout elsewhere. Epoxy is harder to apply and costs more, but it won't stain or grow mould. After grouting we clean off the haze with a damp sponge and let everything cure for twenty-four hours.
Days 10–12: Fit Sanitary Ware and Screens
We install the concealed cistern frame and wall-hung toilet, connect the vanity and tap, and fit the shower screen. The thermostatic mixer goes onto the wall, and we connect it to the hot and cold supplies. Everything gets tested: flush the toilet several times, run the shower at full pressure, fill the basin and check the waste.
The extractor fan is wired to the light switch or a humidity sensor (we recommend the sensor for coastal flats—it runs automatically when humidity rises and prevents mould). We fit LED downlights or a ceiling fixture, and any mirror or cabinet goes up last.
Days 13–15: Sealant, Paint, and Final Clean
We apply silicone sealant around the shower tray, basin, and any joints between tiles and fittings. Use a high-quality sanitary silicone with anti-mould additives; cheap sealant turns black within months in a humid bathroom. The ceiling and any painted walls get a coat of moisture-resistant paint.
Final clean includes wiping down all tiles, polishing taps and glass, vacuuming dust, and removing protective film from the sanitary ware. We do a walk-through with you, check that everything works, and hand over any spare tiles and warranty documents.
Practical Small Bathroom Renovation Ideas Costa Blanca Homeowners Use Every Day
Beyond layout and materials, small details make a big difference in how a compact bathroom feels and functions. Here are changes we see clients appreciate months and years after the work is done.
Recessed Shelves and Niches
A recessed niche in the shower wall (thirty centimetres wide, fifteen deep, forty high) gives you a place for shampoo and soap without a bulky caddy. We build it between the studs during the framing stage and tile the inside to match the walls. In a small bathroom this one feature can eliminate the need for a separate shelf unit.
Similarly, a shallow recess (ten centimetres deep) above the vanity or toilet can hold toiletries or a decorative plant. If the wall is a single-leaf partition (common in older flats) and you can't recess without breaking through to the next room, a slim wall-mounted shelf in tempered glass or stainless steel does the job.
Mirror Cabinets with Integrated Lighting
A mirror cabinet serves three purposes: storage, a mirror, and task lighting. We fit LED strips or backlit mirrors that run on low-voltage transformers; they're energy-efficient and give even, shadow-free light for shaving or makeup. Choose a cabinet at least sixty centimetres wide so it balances visually with the vanity below.
In flats with no window or a tiny one, good lighting is critical. Add a second light source—a ceiling downlight or wall sconce—so the room doesn't feel like a cave.
Heated Towel Rail and Extractor Fan
A small electric heated towel rail (forty to fifty watts) keeps towels dry and adds a touch of warmth on cooler mornings. It also helps reduce humidity. Mount it on the wall opposite the shower where it won't get constantly splashed.
The extractor fan is non-negotiable in a coastal bathroom. Fit a model rated for at least 80 m³/h with a humidity sensor and a fifteen-minute overrun timer. This pulls damp air out after you shower and prevents mould on ceilings and in corners. Clean the fan grille every few months; salt air clogs it faster than you'd think.
Sliding or Pocket Doors
If the bathroom door opens inward and eats up floor space, consider a sliding door on a surface-mounted track or, if the wall cavity allows, a pocket door that slides into the wall. This frees up the swing area for a larger vanity or more comfortable access to the toilet.
Pocket doors require a clear cavity (no pipes, no wiring) and a sturdy frame, so they're easier to install during a full renovation. Surface-mounted barn-style sliders are simpler and add a modern industrial look, though they don't seal sound as well as a hinged door.
What Affects the Price of a Small Bathroom Renovation
Clients always want to know what they'll pay. Prices vary, but understanding the factors helps you budget realistically and avoid surprises.
Size and scope: A basic refresh—new tiles, sanitary ware, and taps in a 2 m × 2 m bathroom with no plumbing changes—will cost less than a full gut-and-rebuild with re-piping and underfloor heating. Moving a toilet or shower drain adds labour and materials because we have to break the screed and re-route pipes.
Materials: Porcelain tiles range from fifteen euros per square metre (basic white) to sixty or more for premium large-format or patterned tiles. Sanitary ware spans a similar range; a wall-hung toilet and cistern frame can be two hundred euros or six hundred depending on brand. Thermostatic mixers, frameless glass screens, and quality vanities all push the budget up but deliver better performance and longevity.
Plumbing and electrical work: If we're replacing old pipes, adding new circuits, or installing underfloor heating, expect several extra days of labour and higher material costs. Buildings in Torrevieja, Rojales and Los Montesinos often have original 1980s or 1990s plumbing that's overdue for replacement.
Access and waste removal: Flats on upper floors with no lift mean more time to carry materials up and rubble down. Some urbanisations restrict skip placement or working hours, which can stretch the schedule. Always check with your community administrator before booking work.
Permits: If your renovation involves structural changes (knocking down a wall, moving a window) or significant plumbing, you may need an obra menor permit or declaración responsable. Rules differ by town hall; confirm with Torrevieja, Orihuela or your local ayuntamiento. Permit fees are usually a small percentage of the declared project value, and processing takes one to three weeks.
VAT: Renovation work in Spain is subject to VAT, typically at the standard rate for new work or a reduced rate for refurbishment of dwellings older than two years. The exact rate and conditions change, so ask your contractor or gestor to confirm what applies to your project.
When you request a quote, make sure it's itemised—labour, materials, permits, waste removal—and that the timeline is realistic. Some companies offer a free site visit and fixed quote; for example, Reformas Baño Alicante provides this service across Torrevieja, Orihuela Costa, La Zenia, Playa Flamenca and nearby towns, so you know what you're paying before any work starts.
Common Mistakes in Small Bathroom Renovations—and How to Avoid Them
We've seen the same errors repeated across hundreds of jobs. Learning from them saves you money, time and frustration.
Choosing style over function: That trendy black matt tile looks stunning in photos but shows every water spot and soap smudge. In a small bathroom you clean often; pick finishes that hide limescale and are easy to wipe down. Light colours, satin or semi-gloss surfaces, and large tiles with minimal grout all make daily maintenance simpler.
Ignoring ventilation: Skipping the extractor fan or fitting an underpowered model guarantees mould within months. Coastal humidity is high year-round, and a small bathroom with no window needs mechanical ventilation. Spend an extra thirty euros on a humidity-sensor fan; it pays for itself in prevented damage.
Undersizing the shower tray: A 70 cm × 70 cm tray is too cramped for most adults. Go for 80 cm × 80 cm or 90 cm × 90 cm if space allows; you'll be far more comfortable, and the larger tray doesn't cost much more. If the room is very tight, a 90 cm × 70 cm rectangular tray can fit where a square one won't.
Forgetting about storage: In a small bathroom every bottle and tube that sits on the floor or vanity makes the space feel cluttered. Plan recessed niches, a mirror cabinet, or a tall narrow unit before you tile. Adding storage afterward means surface-mounted shelves that break up the clean lines.
Not testing the plumbing: Always pressure-test new pipes and run water through all drains before you tile over them. We've been called to jobs where another contractor tiled first, then discovered a leak and had to rip up fresh tiles. Test, photograph, then seal.
Ignoring the community and permits: Starting work without checking your community rules or town-hall requirements can result in fines, stop-work orders, or having to undo finished work. It's tedious, but confirm permissions before the first tile comes off the wall.
Preparing Your Home and Living Through the Renovation
A bathroom renovation is disruptive, especially if it's your only bathroom. Planning ahead makes the process smoother.
Clear the bathroom completely: Remove towels, toiletries, cabinets, mirrors—everything. We'll cover the floor and doorway, but it's easier and safer if the room is empty.
Arrange alternative facilities: If you have a second bathroom, you're set. If not, ask a neighbour or family member if you can use their shower for ten days, or book a local gym day-pass. Some clients in Torrevieja or Santa Pola rent a short-term apartment nearby for the duration; others use the public showers at the beach.
Protect the rest of the flat: We seal the bathroom door with plastic sheeting and tape, but dust still finds its way out. Move or cover furniture in adjacent rooms, and expect to vacuum daily. Keep windows open (if weather permits) to help clear dust and fumes from adhesive and paint.
Plan for noise and working hours: Demolition, tile cutting and drilling are loud. Most communities allow work Monday to Friday, 8:00 to 14:00 and 16:00 to 20:00, with restrictions on weekends. Check your community rules and let your neighbours know when work will start.
Stay in touch with your contractor: A good contractor will update you daily—what's done, what's next, any issues that come up. If something changes (a hidden pipe, a delay in materials), you want to know immediately so you can adjust plans. Don't hesitate to ask questions; it's your home and your money.
Why Local Knowledge Matters for Costa Blanca Bathrooms
Renovating a small bathroom in Torrevieja, Orihuela Costa or Playa Flamenca isn't the same as doing one in Madrid or the UK. The coastal climate, the age and construction of local buildings, the water quality, and the community structures all shape what works and what doesn't.
A contractor who knows the area understands that urbanisations built in the 1990s often have single-leaf partition walls that can't support heavy wall-hung furniture without reinforcement. They know which tile suppliers in Alicante or Elche stock large-format porcelain at reasonable prices and deliver quickly. They know that hard water means you must use epoxy grout in the shower, and that an underpowered extractor fan will fail in six months.
They also navigate the permit process in each town hall—Torrevieja's system differs slightly from Orihuela's or Guardamar's—and they work with local plumbers and electricians who show up on time and do the job properly. When you hire someone with years of hands-on experience in the area, you're buying that accumulated knowledge as much as the labour.
Reformas Baño Alicante has renovated bathrooms across the southern Costa Blanca for years, so we've seen every layout challenge, every plumbing quirk, and every community rule you're likely to encounter. That local expertise means fewer surprises, realistic timelines, and a finished bathroom that works for your home and lifestyle.
Final Thoughts: Making the Most of Your Small Bathroom
A compact bathroom doesn't have to feel cramped or outdated. With thoughtful layout choices—walk-in shower, wall-hung fittings, large tiles, smart storage—you can create a space that feels open, modern and easy to maintain. Choose materials that stand up to coastal humidity and hard water, plan the work sequence carefully, and don't cut corners on ventilation or plumbing.
Understand what affects the price, confirm any permits with your town hall and community, and prepare your home so the renovation runs smoothly. Most importantly, work with a contractor who knows the local buildings, climate and regulations inside out. The result will be a bathroom you're proud of and comfortable in, every single day.
FAQ
How long does a small bathroom renovation take in Torrevieja or Orihuela Costa?
A typical small bathroom (around 2 m × 2 m) takes ten to fifteen working days from demolition to final clean. If we're replacing old pipes or moving plumbing, add two to three extra days. Weather, material delivery and community working-hour rules can also affect the schedule.
Do I need a permit to renovate my bathroom on the Costa Blanca?
It depends on the scope. Replacing tiles, sanitary ware and taps usually doesn't require a permit. Moving plumbing, knocking down walls or changing window openings may need an *obra menor* permit or *declaración responsable*. Rules vary by town hall (Torrevieja, Orihuela, Pilar de la Horadada), so always check with your local ayuntamiento and your community administrator before starting work.
What's the best layout for a very small bathroom in a Costa Blanca flat?
Replace the bath with a walk-in shower (saves half a square metre), use wall-hung toilet and vanity to free up floor space, and fit a frameless glass screen. Place fittings in corners or along one wall to keep the centre open. Large-format tiles and good lighting make the room feel bigger.
How do I deal with hard water and humidity in a coastal bathroom?
Use epoxy grout in wet areas, treat glass screens with a hydrophobic coating, and fit a humidity-sensor extractor fan rated for at least 80 m³/h. Wipe down tiles and glass weekly with vinegar or a descaler, and keep the fan running after every shower to pull out damp air.
Should I replace old plumbing when I renovate my bathroom?
If your building is more than twenty years old and still has original galvanised steel or cast-iron pipes, yes. Corroded pipes cause leaks, low pressure and discoloured water. Replacing them with PEX and PVC adds a few hundred euros and two to three days, but it prevents expensive problems for the next two decades.