Bath to Shower Conversion La Zenia: Process & Timeline
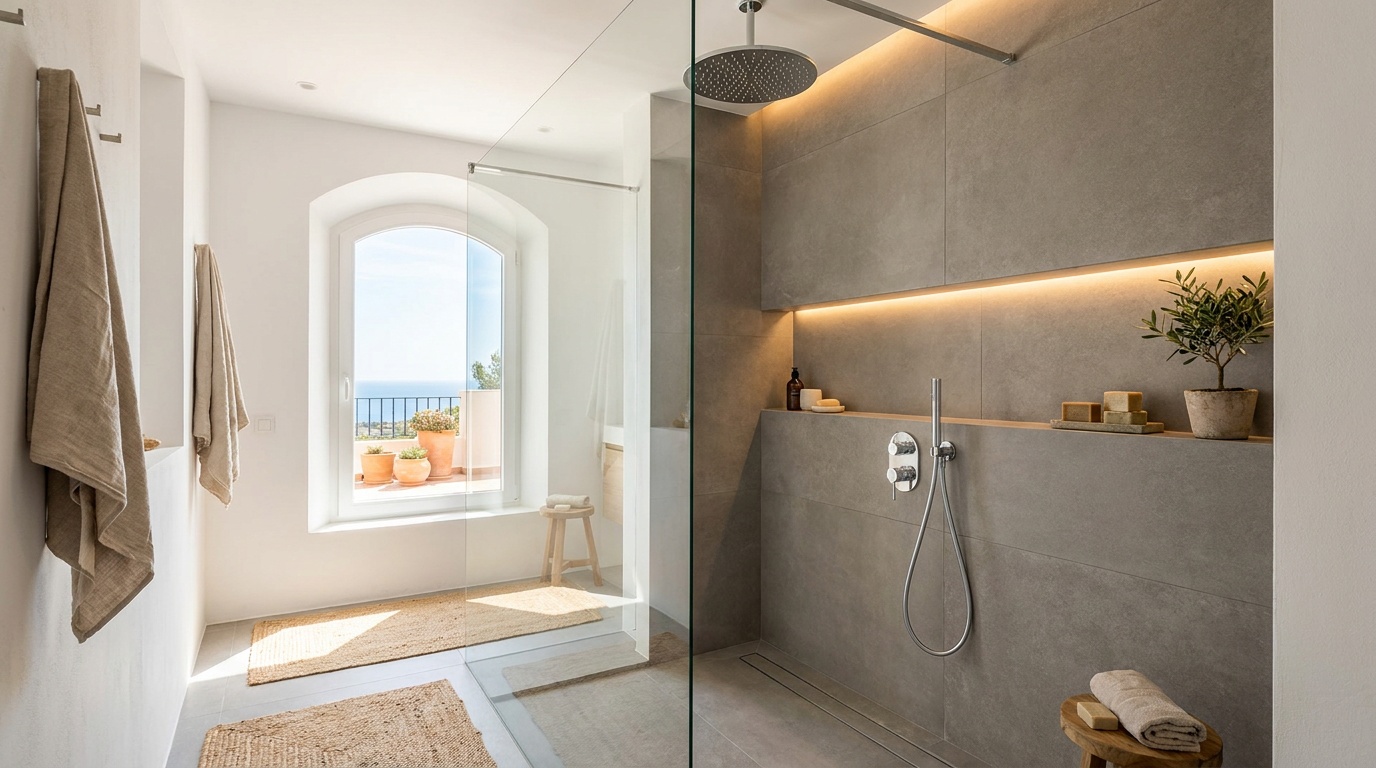
Replacing a bath with a walk-in shower is one of the most requested bathroom upgrades in La Zenia, particularly in older apartments and townhouses where the original bathtub takes up valuable space and rarely gets used. A bath to shower conversion in La Zenia typically takes three to five working days and transforms a cramped, dated bathroom into a practical, modern wet room that suits the Mediterranean lifestyle and makes daily routines easier for residents and holidaymakers alike.
This guide walks you through the complete process from the first site visit to the final grout line, covering materials, timelines, typical challenges in coastal properties, and what drives the cost up or down.
Why Convert a Bath to a Shower in La Zenia?
Most properties built in La Zenia and the wider Orihuela Costa area during the construction boom of the 1990s and early 2000s came with standard bathtubs, often in compact bathrooms where space is at a premium. Over time, homeowners realise the tub sits unused while a shower would be faster, safer and more practical.
Space and accessibility are the main drivers. A walk-in shower with a low-profile tray or flush wet-room floor opens up the room visually and physically, especially important in the smaller bathrooms common in two-bedroom apartments. For older residents or anyone with mobility concerns, stepping over a high bath rim becomes a daily challenge; a level-access shower solves that immediately.
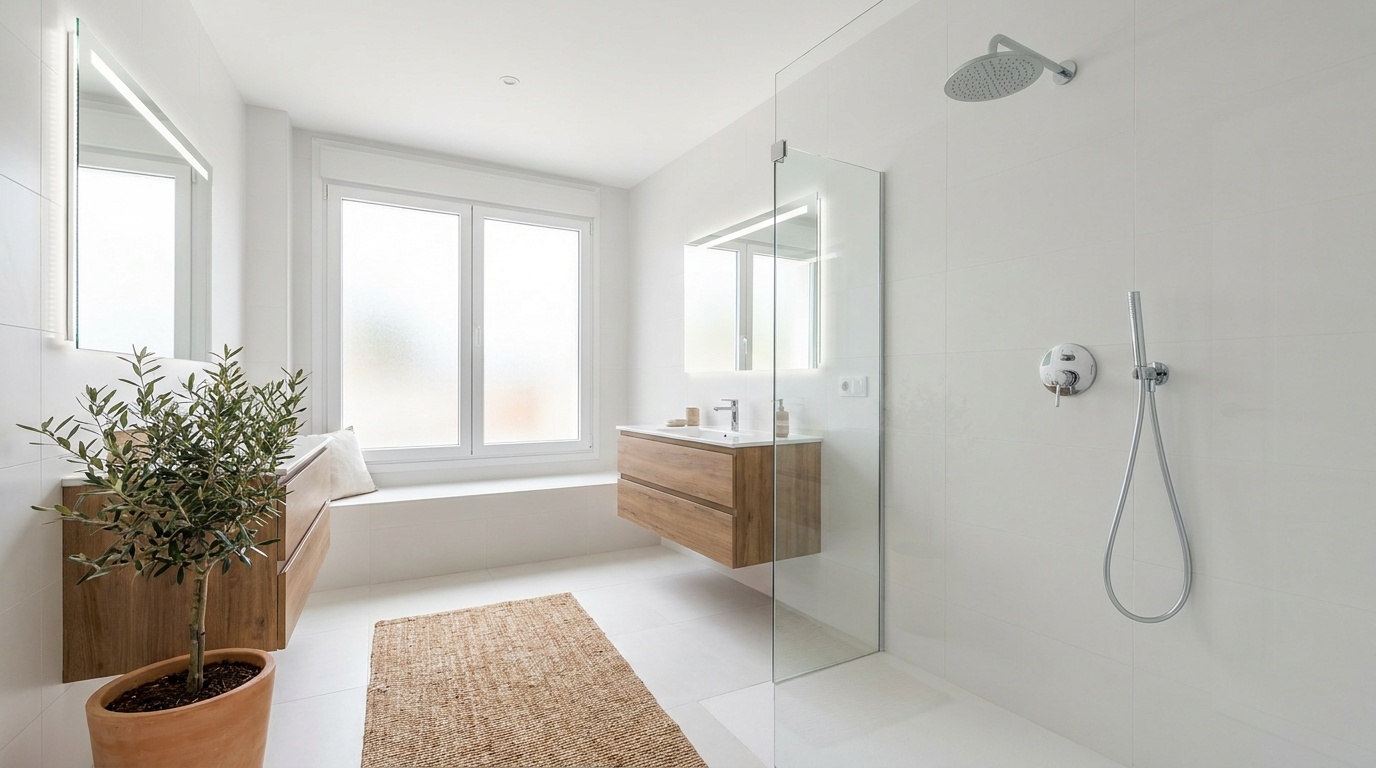
Rental appeal also matters. Holiday lets and long-term rentals in La Zenia attract guests who expect a quick, modern shower rather than a dated bath. A sleek walk-in shower with a rainfall head and glass screen photographs well and meets the expectations of northern European visitors used to contemporary fittings.
Finally, the coastal climate plays a role. High humidity and salt air mean bathrooms need good ventilation and materials that resist mould and limescale. A properly installed shower with porcelain tiles, quality silicone joints and an extractor fan performs better over time than an old acrylic bath surrounded by grouting that traps moisture.
Planning Your Bath to Shower Conversion: What to Decide First
Before any work begins, you need to settle a few key choices that shape the project timeline, budget and final result.
Shower Tray or Wet Room?
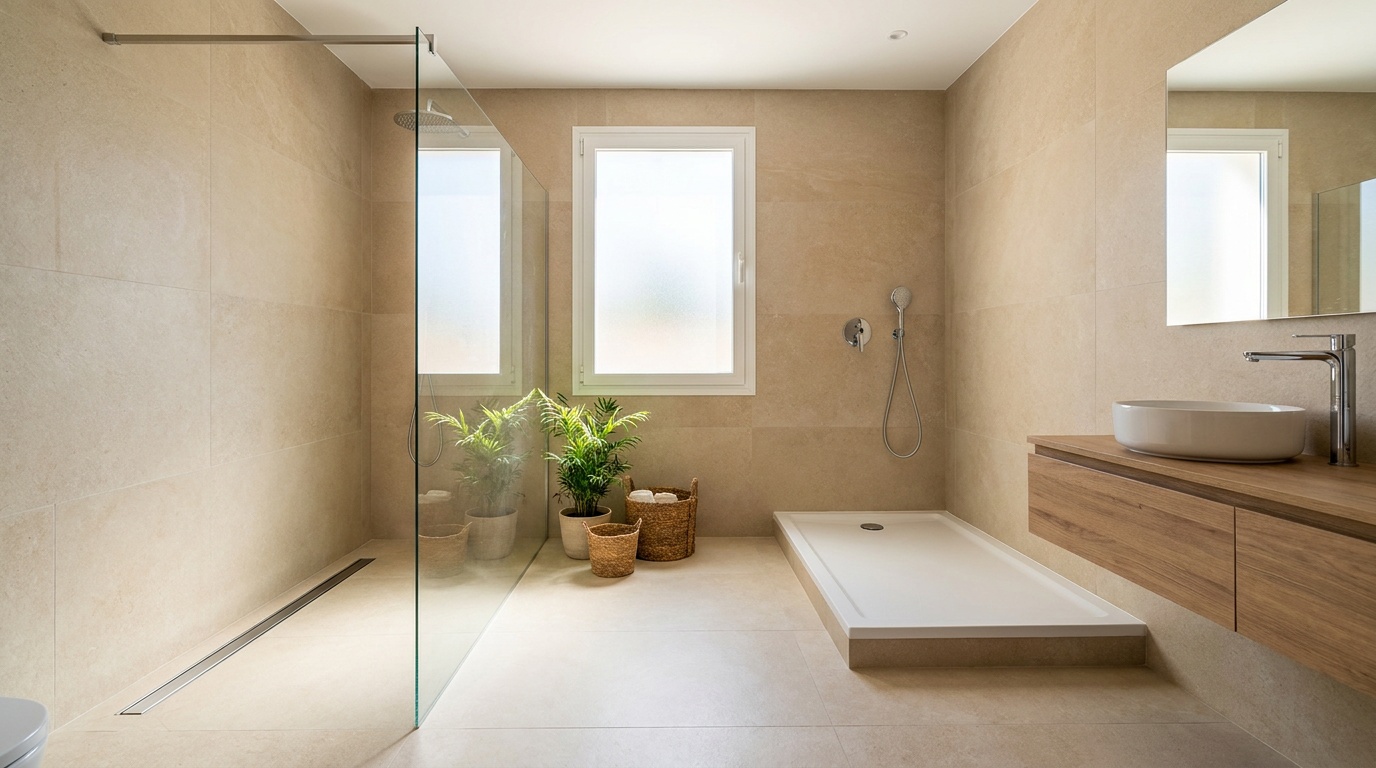
The most common approach in La Zenia conversions is a low-profile acrylic or resin shower tray (typically 3–5 cm high) with a glass screen. These trays are quick to install, reliable, and cost-effective. Brands like Roca, Hidrobox and Kassandra dominate the local market; a quality 80×120 cm or 90×90 cm tray costs €150–€350 depending on finish and anti-slip rating.
A wet room with a flush floor drain looks sleeker and works well for wheelchair access, but it requires more preparation: the entire floor area must be waterproofed, sloped correctly toward the drain (minimum 2 per cent gradient), and the structural slab needs to support the additional weight of screed and tanking membrane. In older La Zenia apartments with thin floor screeds or uncertain drainage falls, this adds time and cost. Wet rooms suit ground-floor properties or new builds; for upper-floor flats, a low tray is usually the safer, faster choice.
Screen: Glass, Semi-Frameless or Curtain?
A tempered glass screen (6–8 mm thick) is the standard for modern conversions. Fixed panel plus hinged door or sliding door, chrome or black profiles, treated glass that resists limescale—these details affect price (€200–€600 for the screen alone) but also longevity. Hard water in this area leaves white deposits quickly; treated glass (often labelled "easy-clean" or similar) cuts cleaning time in half.
Semi-frameless or fully frameless screens look elegant but cost more and require precise installation; any movement in the wall or tray can stress the hinges. In practice, a good-quality framed screen from a reputable supplier performs just as well and costs less.
Shower curtains are rare in permanent conversions here—they look temporary, trap moisture and need frequent replacement in the humid coastal climate.
Tiling: Porcelain, Ceramic or Microcement?
Porcelain tiles are the workhorse material for La Zenia shower conversions. Rectified large-format tiles (30×60 cm, 60×60 cm or even 60×120 cm) in neutral tones—grey, beige, white, imitation stone or concrete—are popular, practical and widely stocked by local tile suppliers in Torrevieja and Alicante. Porcelain is harder and less porous than ceramic, which matters in a wet environment. Expect €15–€40 per square metre for mid-range porcelain; premium or textured finishes run higher.
Ceramic tiles cost less (€10–€25/m²) and work fine for walls, though they're slightly more prone to chipping and water absorption over time. For shower floors, always choose porcelain with a slip-resistance rating (class 2 or 3).
Microcement has become fashionable for seamless, industrial-look finishes. Applied in thin layers over the existing substrate and sealed, it creates a continuous waterproof surface with no grout lines. It's more expensive (materials and specialist labour push the cost up) and requires an experienced applicator; done badly, it can crack or let water through. If you want microcement, check previous work carefully and budget extra time and money.
Plumbing: Mixer, Thermostatic or Digital?
A basic single-lever mixer valve (Roca, Grohe, Tres) costs €60–€150 and does the job. A thermostatic mixer (€150–€400) maintains constant temperature even when water pressure fluctuates—useful in blocks where neighbours' showers affect your flow—and adds a safety lock to prevent scalding. Digital or smart controls look impressive but are overkill for most conversions and add complexity if repairs are needed later.
Pair the mixer with a rainfall showerhead (20–30 cm diameter, ceiling- or wall-mounted) and a separate handheld spray on a slide rail. This combination suits all users and is standard in quality conversions. Budget €100–€300 for the full set depending on brand and finish (chrome, brushed steel, matte black).
Step-by-Step: How a Bath to Shower Conversion Works in La Zenia
Here's the actual work sequence, based on typical projects in La Zenia apartments and townhouses.
Day 1: Demolition and First Fix
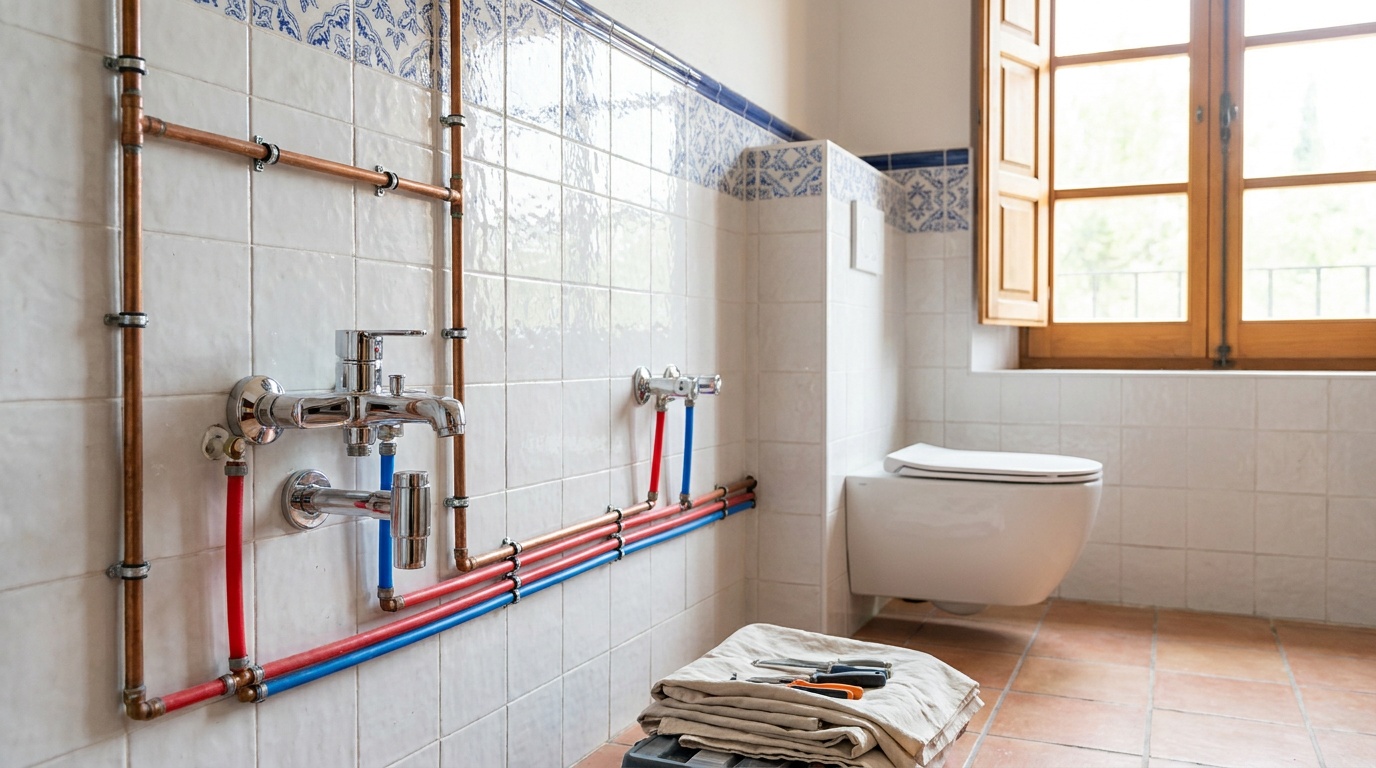
The team starts by removing the old bath. Acrylic or fibreglass baths lift out easily once the side panels and taps are disconnected; cast-iron baths (rare but present in some older properties) are heavier and sometimes need cutting into sections. The waste pipe and trap come out, and any old tiling on the walls around the bath area is stripped back to the brick or blockwork.
This is messy, dusty work. Protect the rest of the flat: seal doorways with plastic sheeting, cover floors with cardboard and drop cloths, and warn neighbours if you're in an apartment block—noise and vibration travel.
Once demolition is done, the plumber checks the existing water supply pipes (hot and cold feeds) and waste outlet. In older La Zenia properties, you might find original galvanised steel pipes corroded by hard water, or undersized plastic waste pipes (32 mm instead of 40 mm) that drain slowly. If pipes need replacing, now is the time; running new PEX or multilayer pipe inside the wall cavity or surface-mounted in boxing adds half a day but avoids future leaks.
The shower tray goes in next, sitting on a mortar bed or adjustable feet (depending on tray type) and connected to the waste. The plumber runs a water test to confirm the trap seals and drainage is free-flowing. Getting the tray level and stable is critical—any movement later will crack grout and silicone joints.
Day 2: Waterproofing, Preparation and Tiling Walls
Waterproofing is non-negotiable in a shower. Even though porcelain tiles are water-resistant, the joints and substrate are not. A tanking membrane or liquid waterproofing system (brands like Weber, Mapei, Sika are common) is applied to all walls in the wet zone—typically the three walls around the shower tray, extending at least 30 cm beyond the screen on each side and up to at least 2 metres height (many installers go full-height to the ceiling for peace of mind).
The membrane is rolled or trowelled on, special corner tapes and collars seal junctions and pipe penetrations, and the whole assembly must cure for a few hours. Skipping or skimping on this step is the single biggest cause of leaks and damp patches appearing months later behind tiles.
Once waterproofing is done, wall tiling begins. Tiles are fixed with flexible adhesive suitable for wet areas, starting from the bottom course above the tray and working upward. Large-format tiles go up faster and have fewer grout lines (so less maintenance), but they require a flat substrate—any bumps or hollows in the old plaster show through. If walls are uneven, they may need skimming or dot-and-dab plasterboard first, which adds time.
Cutting tiles around the mixer valve, showerhead outlets and any niches or shelves takes care and the right tools (wet saw, angle grinder with diamond blade). Tile spacers keep joints consistent (usually 2–3 mm for rectified porcelain).
Day 3: Grouting, Floor Work and Fittings
Grouting follows 24 hours after tiling, once the adhesive has set. Epoxy grout is more expensive than standard cement grout but resists mould, staining and limescale far better—worth considering in the humid La Zenia climate and with the area's hard water. Grout colour usually matches or contrasts slightly with the tile; light grey is safe and hides minor discolouration over time.
Any floor tiling outside the shower tray is completed now if it's part of the project. Often the rest of the bathroom floor is left as-is to save cost, or re-tiled to match the new shower aesthetic.
The plumber fits the shower mixer, showerhead and handheld spray, connects everything, and tests for leaks and correct operation. The glass screen is templated (measurements confirmed on-site) but usually not installed until grouting and silicone are fully cured, to avoid damage.
Day 4–5: Finishing Touches, Screen Installation and Snagging
The glass screen is delivered and fitted. Frames or hinges are fixed to the wall (drilled and plugged into tile and masonry, sealed with silicone), the glass panels slotted in, and all edges sealed. The screen must be plumb and the door must swing or slide smoothly without binding.
Silicone sealant is applied to all joints: tray-to-wall, tray-to-screen, tile-to-tray, around pipe penetrations. Use sanitary silicone (mould-resistant, usually white or clear) and apply neatly—ragged silicone beads look amateur and trap dirt. Good installers tool the silicone with a wet finger or shaping tool for a smooth, concave profile.
Electrical work is completed: an extractor fan (mandatory in any enclosed bathroom in Spain, though enforcement varies) is installed or upgraded, wired to the light switch or a humidistat, and vented to the outside or into a communal duct if you're in an apartment block. LED downlights or a new ceiling light finish the look.
Final snagging includes touching up any paint on walls outside the tiled area, re-hanging the bathroom door if it was removed for access, cleaning off tile adhesive smears and grout haze, and a final water test of the entire system.
Free visit and quote, fixed price in writing and a guarantee on the works.
Materials Checklist and What Affects the Price
Here's what goes into a typical bath to shower conversion in La Zenia, with rough guidance on costs (materials only, labour separate):
- Shower tray (acrylic or resin, 80×120 cm or similar): €150–€350
- Glass screen (6 mm tempered, framed or semi-frameless): €200–€600
- Porcelain wall tiles (8–12 m² for a standard shower enclosure): €120–€480 (at €15–€40/m²)
- Floor tiles (if replacing, 3–5 m²): €45–€200
- Tile adhesive and grout (flexible, waterproof): €50–€100
- Waterproofing membrane/tanking kit: €40–€80
- Shower mixer valve (thermostatic recommended): €150–€400
- Showerhead and rail kit: €100–€300
- Waste trap and plumbing fittings: €30–€60
- Extractor fan (basic model): €30–€80
- Silicone, sealants, sundries: €20–€40
- Waste removal (skip or builder's bags): €80–€150
Labour is the other half of the cost. A straightforward conversion with no surprises typically runs €1,200–€2,500 for labour, depending on the size of the bathroom, complexity (wet room vs. tray, full re-tile vs. partial, new plumbing vs. re-use), and the company you hire. Companies like Reformas Baño Alicante offer a free site visit and fixed-price quote that includes labour, materials, waste removal and warranty, which removes uncertainty and avoids the «extras» that appear on some invoices.
What pushes the price up?
- Hidden plumbing problems: corroded pipes, poor drainage falls, leaks in the slab that only appear once the bath is out.
- Structural issues: damp walls that need treatment, rotten timber studwork, uneven floors requiring levelling compound or new screed.
- Permit requirements: most bath-to-shower conversions count as minor works (obra menor) and may need a declaración responsable filed with Orihuela Costa town hall (part of Orihuela municipality). Requirements and fees vary; always confirm with the town hall or ask your contractor to handle it. Failing to notify the town hall can complicate future property sales.
- Premium materials: large-format tiles, designer taps, frameless glass, microcement, underfloor heating.
- Access difficulties: upper-floor flats with no lift, narrow staircases, restricted parking for vans.
What keeps the price down?
- Standard sizes: using common tray and screen dimensions avoids custom fabrication.
- Mid-range materials: good-quality porcelain and fittings from mainstream brands perform just as well as premium lines.
- Minimal plumbing changes: re-using existing pipe positions where possible.
- Off-season timing: booking work in autumn or winter (outside peak rental and holiday periods) can sometimes yield better availability and rates, though this varies by contractor.
Local Challenges in La Zenia and Orihuela Costa Bathrooms
Working in La Zenia and the surrounding Orihuela Costa urbanisations brings specific issues that affect how a conversion is planned and executed.
Hard Water and Limescale
Water in this part of Alicante province is notoriously hard—high calcium and magnesium content. Limescale builds up quickly on glass screens, chrome taps, showerheads and tile grout. Choose easy-clean treated glass, consider a water softener if you're doing a whole-property upgrade, and plan for regular descaling as part of maintenance. Thermostatic mixers with ceramic cartridges cope better with limescale than cheaper brass internals.
Humidity and Ventilation in Older Flats
Many older La Zenia apartments have small bathrooms with inadequate or non-existent extraction. After a hot shower, steam condenses on cold tiles and ceilings, promoting mould growth (black spots in grout lines and silicone joints). Installing or upgrading the extractor fan is essential—duct it to the outside if possible, or into a communal ventilation shaft if that's what the building has. A humidistat-controlled fan runs automatically when moisture levels rise and is worth the small extra cost.
Coastal Climate and Material Durability
Salt air accelerates corrosion of metal fittings and fixtures. Stainless steel and chrome-plated brass hold up well; cheaper alloys and painted finishes deteriorate faster. Silicone joints also degrade more quickly in coastal humidity; expect to re-seal every few years as part of routine maintenance.
Old Pipes in Older Buildings
Properties from the 1990s and early 2000s often have original plumbing that's now twenty-plus years old. Galvanised steel pipes corrode internally, reducing flow and sometimes causing rusty water. Plastic waste pipes can sag or crack. When the bath comes out, inspect everything carefully and budget for pipe replacement if needed—it's far cheaper to do it now than to open up the walls again in two years.
Community of Owners Rules
If you're in an apartment block, check the community statutes (estatutos) and inform the president (presidente) of the community in writing before starting work. Some communities require formal permission for internal reforms, specify working hours (often 09:00–14:00 and 16:00–19:00, Monday to Friday, no weekends), and impose fines for noise or mess in common areas. Protect stairwells and lifts with sheeting, and arrange waste removal promptly—skips left in communal parking spaces cause friction with neighbours.
Timeline: How Long Does a Bath to Shower Conversion Take?
A straightforward bath to shower conversion in La Zenia typically takes three to five working days on-site, spread over one to two weeks to allow for curing times (adhesive, grout, silicone) and delivery of the glass screen (often made to measure and delivered a few days after templating).
Typical schedule:
- Day 1: Demolition, plumbing first fix, tray installation.
- Day 2: Waterproofing, wall tiling starts.
- Day 3: Wall tiling completes, grouting, floor work if needed.
- Day 4: Fittings installed, electrics completed, screen templated.
- Day 5 (or a few days later): Screen delivered and fitted, final silicone, snagging, clean-up.
What can delay the project?
- Material delivery delays: tiles or screens out of stock, especially if you choose unusual sizes or colours.
- Hidden problems discovered during demolition: leaks, damp, structural issues that need remedial work.
- Permit processing: if a declaración responsable is required and the town hall queries it.
- Weather: rare, but extreme rain can delay waste removal or deliveries.
- Availability: during peak summer months (July–August) and around Easter, tradespeople are busier and lead times stretch.
Plan for the bathroom to be out of action for the full duration. If it's your only bathroom, arrange alternative washing facilities (neighbours, friends, a local gym) or consider staying elsewhere for a few days.
Common Mistakes and How to Avoid Them
Skipping waterproofing or doing it badly. This is the number-one cause of callbacks and complaints. Insist on a proper tanking membrane or liquid system applied by someone who knows what they're doing. If the quote seems too cheap, ask specifically what waterproofing is included.
Choosing the wrong tray size. Measure carefully and consider how the screen will fit. A tray that's too small feels cramped; one that's too large eats into the rest of the bathroom. Standard sizes (80×80, 80×120, 90×90 cm) are easier and cheaper than custom.
Ignoring drainage slope. The tray or wet-room floor must slope toward the waste. If it doesn't, water pools and drains slowly, creating a permanent puddle and encouraging mould. Check the fall during installation, before tiling locks everything in place.
Poor silicone application. Silicone joints are the first line of defence against water escape. Ragged, incomplete or mould-prone silicone fails quickly. Use quality sanitary silicone, apply generously, tool neatly, and let it cure fully (24 hours) before using the shower.
Undersized or poorly positioned extractor fan. A fan that's too weak or installed in the wrong place (far from the shower) won't control humidity. Size the fan to the room volume (measured in cubic metres per hour extraction rate) and position it as close to the shower as practical, wired to run for 15–20 minutes after the light goes off.
Not protecting the rest of the home. Dust, tile shards, and water travel further than you think. Seal doorways, cover furniture and floors, and clean up daily. In an apartment block, protect communal areas and warn neighbours—goodwill matters when you need to make noise or block access briefly.
Final Thoughts: Getting Your Bath to Shower Conversion Right
Converting a bath to a walk-in shower in La Zenia is a practical, value-adding upgrade that makes daily life easier and modernises a dated bathroom. The work itself is straightforward when done properly: careful planning, quality materials suited to the coastal climate, thorough waterproofing, and skilled installation.
Choose a contractor with local experience—someone who understands hard water, humidity, community rules and the quirks of older Orihuela Costa properties. A free site visit and fixed quote (like the one Reformas Baño Alicante provides) removes guesswork and lets you budget accurately. Confirm what's included (materials, labour, waste removal, warranty) and ask to see previous work in similar properties.
Allow time for the project, protect your home and neighbours from disruption, and plan for the bathroom to be out of use for up to a week. Done well, a bath to shower conversion delivers years of reliable, low-maintenance service and transforms one of the most-used rooms in your home.
FAQ
How long does a bath to shower conversion take in La Zenia?
A typical conversion takes three to five working days on-site, spread over one to two weeks to allow for curing times and glass screen delivery. The bathroom will be out of action for the full period, so plan alternative washing arrangements if it's your only one.
Do I need a permit to convert a bath to a shower in Orihuela Costa?
Most conversions count as minor works (*obra menor*) and may require a *declaración responsable* filed with Orihuela town hall. Requirements and fees vary, so confirm with the town hall or ask your contractor to handle the paperwork. If you're in an apartment block, inform the community president in writing before starting.
What's the best shower tray for a La Zenia apartment?
A low-profile acrylic or resin tray (3–5 cm high) in a standard size like 80×120 cm or 90×90 cm is the most practical and cost-effective choice for most apartments. It installs quickly, drains reliably, and works well with the typical floor construction in older blocks.
How do I deal with hard water and limescale on shower glass?
Choose a glass screen with easy-clean treatment (hydrophobic coating) that resists limescale buildup. Wipe the glass down with a squeegee after each shower, and use a descaling spray or vinegar solution weekly. Consider a water softener for the whole property if limescale is severe.
Can I convert a bath to a wet room in an upstairs flat?
It's possible but more complex and expensive than installing a low shower tray. A wet room needs full-floor waterproofing, correct drainage slope, and structural support for the additional screed weight. In older La Zenia apartments, a low-profile tray is usually the safer, faster and more affordable option.