Walk-in Shower vs Shower Tray Spain: Cabo Roig Guide
Introduction
When you're planning a bathroom renovation in Cabo Roig, Playa Flamenca, La Zenia or anywhere along Orihuela Costa, one of the first choices is whether to install a walk-in shower with a floor drain or a traditional shower tray. The walk-in shower vs shower tray Spain debate matters more here than in northern Europe because coastal humidity, hard water, older building structures and community rules all shape which option will last and stay watertight. I've renovated hundreds of bathrooms across Torrevieja, Guardamar del Segura, Pilar de la Horadada and nearby towns, and I can tell you that both solutions work well when installed correctly—but each suits different homes, budgets and lifestyles.
What Is a Walk-in Shower and What Is a Shower Tray?
Walk-in shower with floor drain
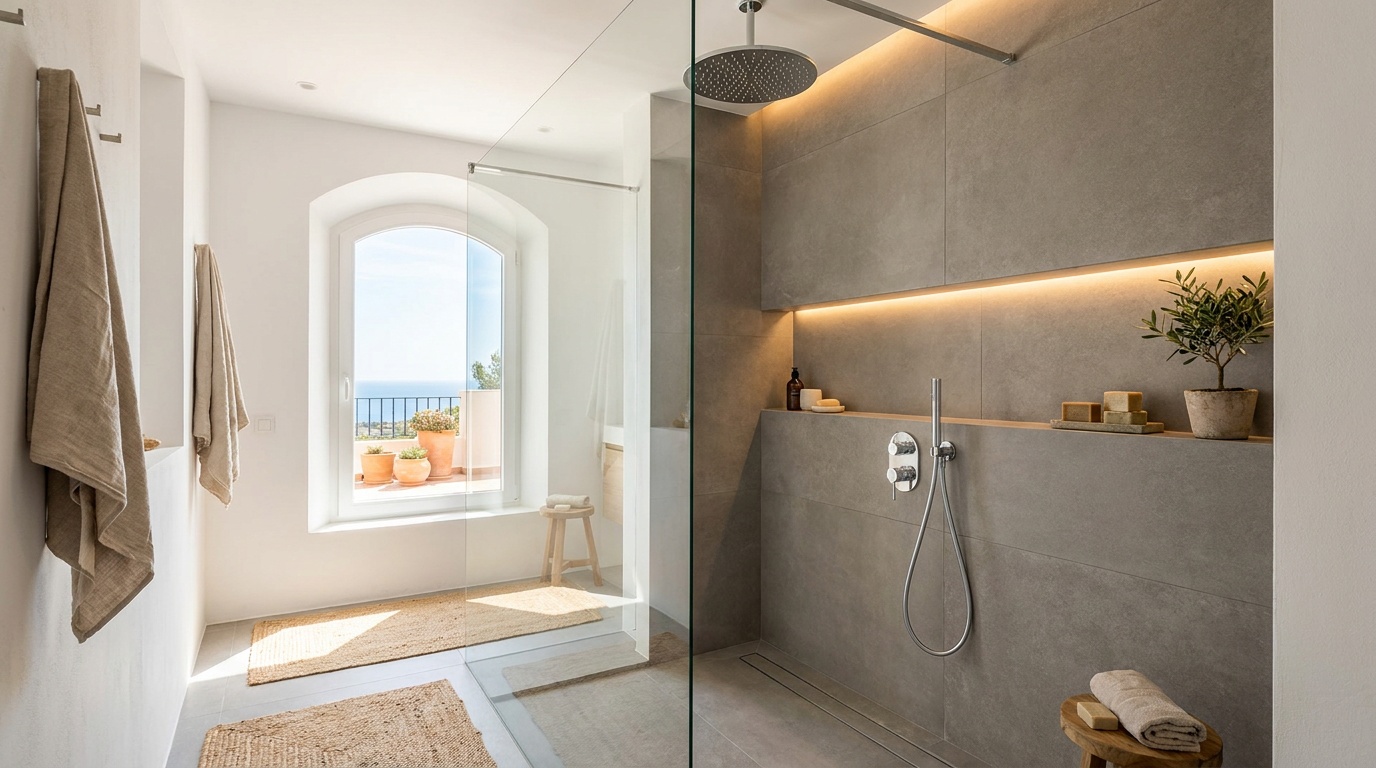
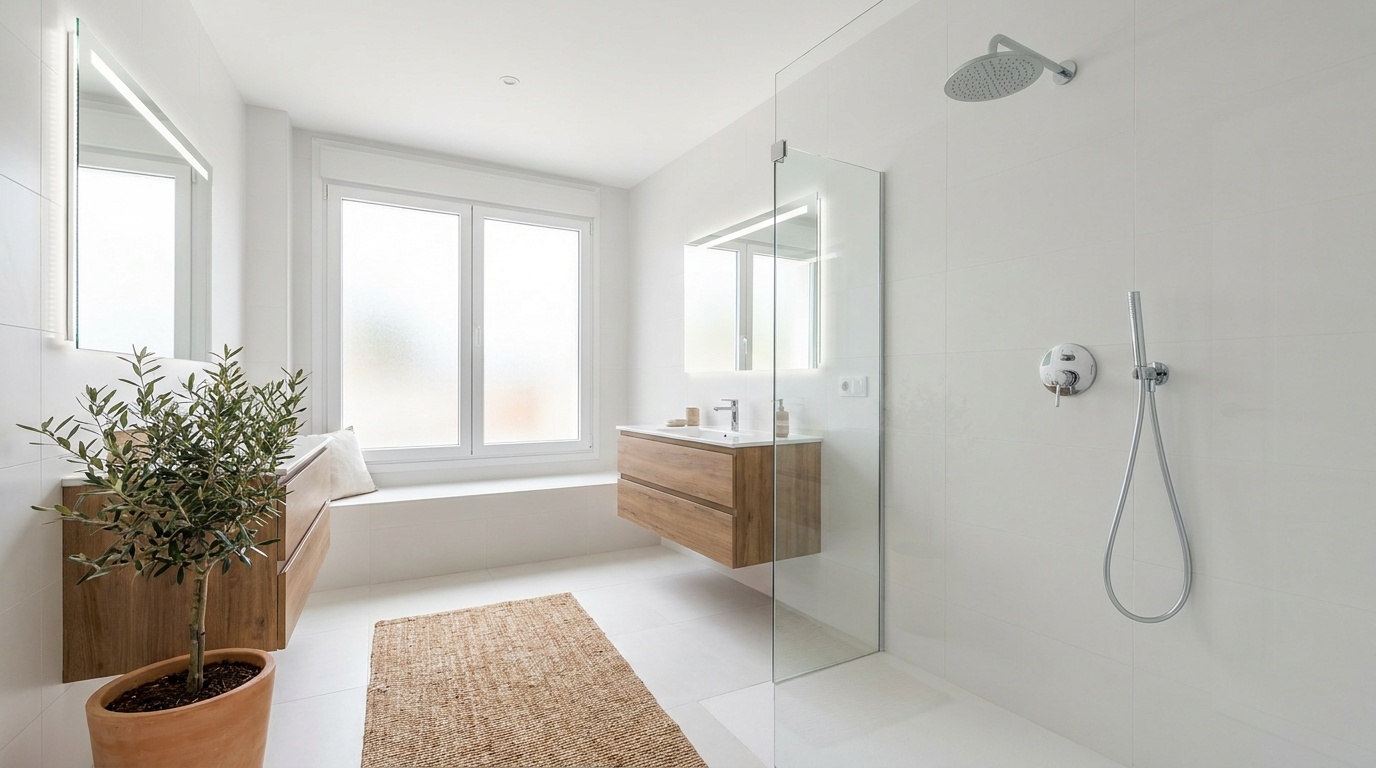
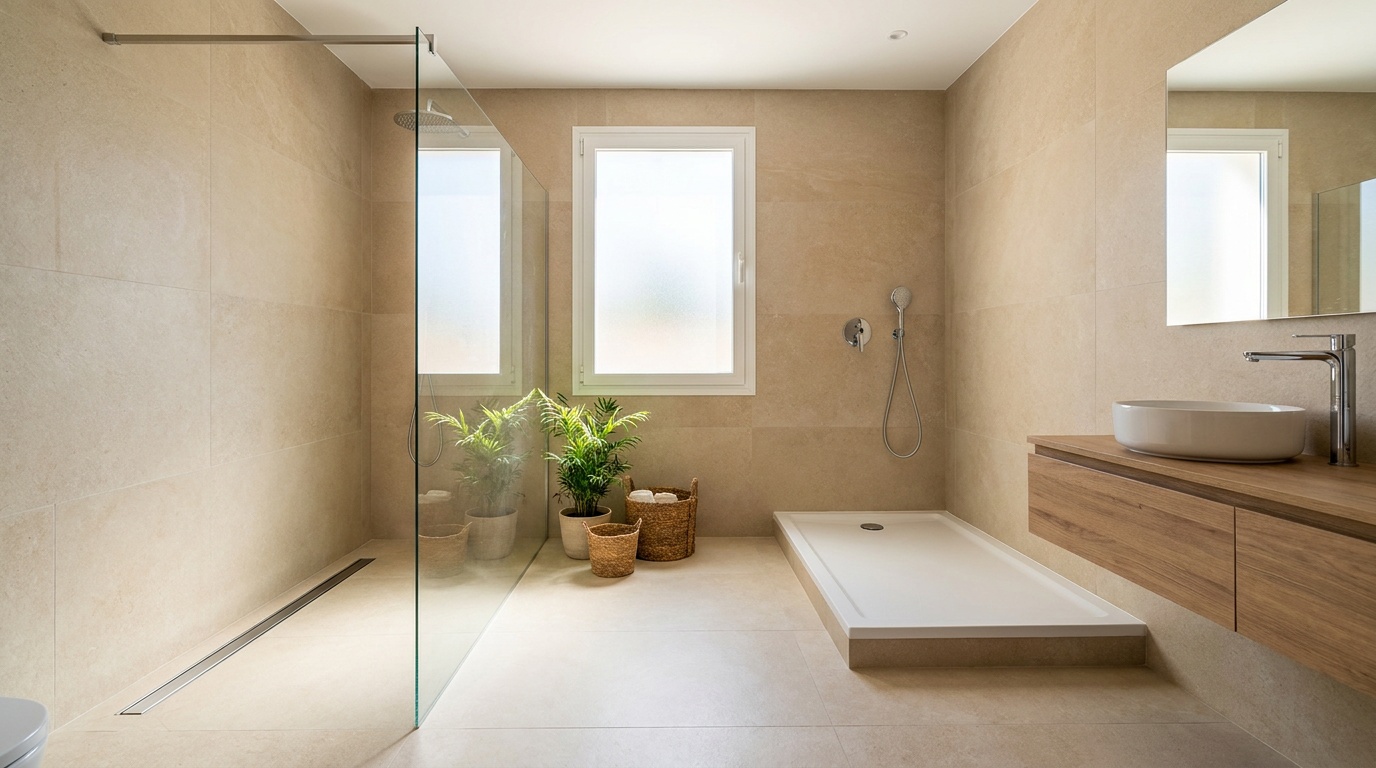
A walk-in shower (sometimes called a wet room or a tiled shower) has no raised tray. Instead, you waterproof the entire floor and walls, tile over the membrane, and slope the floor gently toward a linear or point drain set flush with the tiles. You step directly onto the tiled floor with no lip or edge. The floor is continuous with the rest of the bathroom or sits just a few millimetres lower.
In practice, the structure beneath the tiles includes a waterproof membrane (usually liquid PVC or polyurethane), a mortar bed shaped to create the slope (typically one to two per cent gradient), and the drain channel or gully. The tiling itself is the finished surface, so you choose large-format porcelain, natural stone or even microcement.
Traditional shower tray
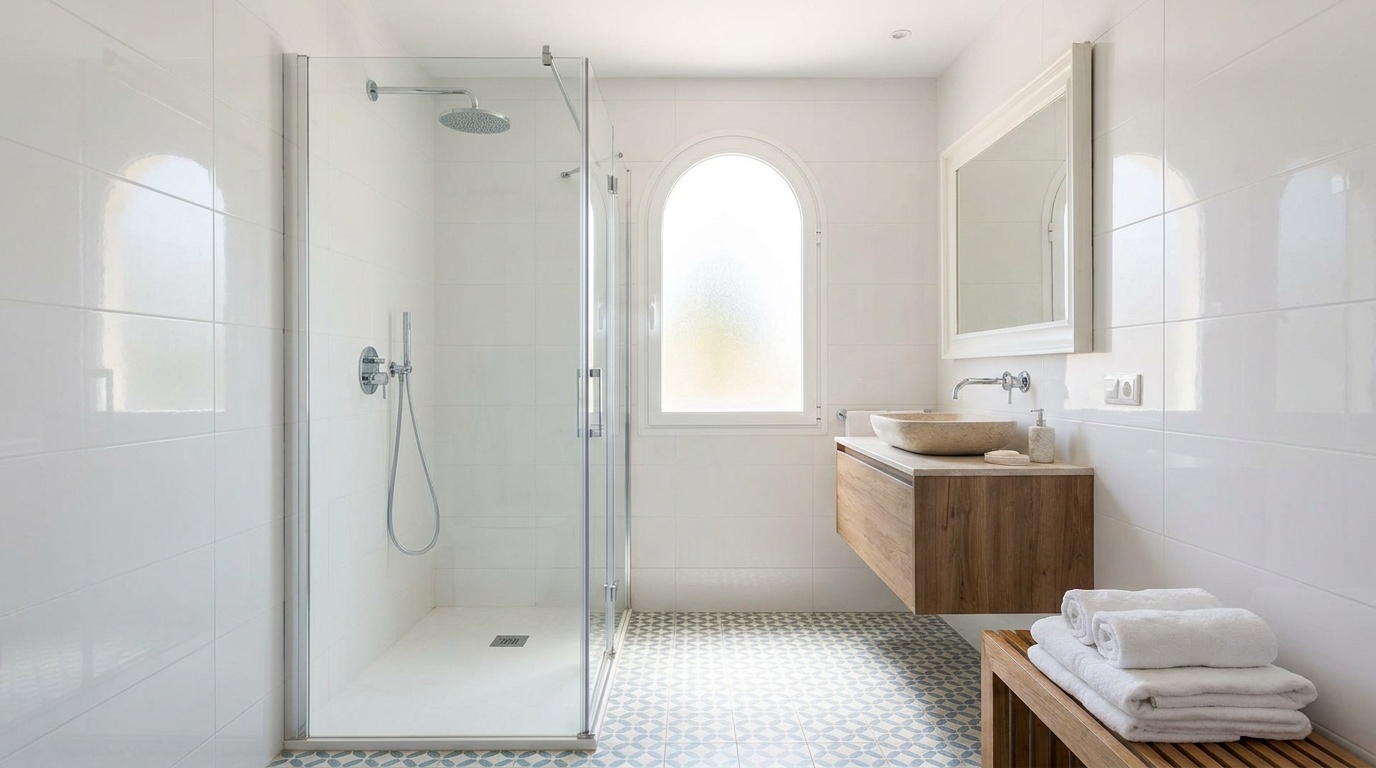
A shower tray is a pre-formed basin—acrylic, resin, ceramic or stone-effect composite—that sits on top of the floor or partly recessed into it. The tray has a built-in waste outlet and raised edges. You seal the edges with silicone, tile the walls around it, and fit a screen or curtain. Installation is faster because the tray arrives ready-made; you level it, connect the waste pipe, and tile.
Trays come in standard sizes (70×70 cm, 80×80 cm, 70×90 cm, 80×120 cm and so on) and a range of finishes: glossy acrylic, textured anti-slip resin, slate-effect, even ultra-slim models only 2.5 cm high.
Walk-in Shower vs Shower Tray Spain: Key Differences That Matter Here
Waterproofing and humidity
Coastal homes in Playa Flamenca, Cabo Roig and La Zenia face constant humidity—salt air, sea breeze, and in older blocks, poor original ventilation. A walk-in shower requires perfect waterproofing across a larger surface because water spreads over the entire floor. If the membrane fails or the slope is too shallow, water sits and eventually finds cracks, seeping into the slab and causing damp patches in the flat below or in adjacent rooms.
A shower tray contains water within its own basin, so leaks are less likely to spread. The critical seal is only around the tray edge and the waste connection. In buildings from the 1980s and 1990s around Torrevieja and Guardamar, where floor slabs are thin and joists sometimes timber, a tray adds a layer of safety.
That said, a properly installed walk-in shower—liquid membrane painted in multiple coats, reinforced corners, correct slope, quality drain with adjustable height—will not leak. I've built dozens in seafront apartments in La Zenia and Punta Prima without a single callback, but the workmanship must be exact.
Space and accessibility
Walk-in showers feel more spacious because there's no visual or physical barrier. In a small bathroom (four or five square metres, common in older flats in Ciudad Quesada or Los Montesinos), removing the tray lip and continuing the floor tile makes the room look bigger and flow better. It's also easier for anyone with mobility issues—no step to trip over, room for a fold-down seat, space for a wheelchair if needed.
A shower tray, even a low-profile one, always has an edge. In a compact bathroom, that edge can make the space feel boxed in, and it's a trip hazard for older residents. However, trays fit neatly into corners and alcoves, so if your layout is tight and you want to keep the shower zone clearly defined, a tray can actually save floor area because you don't need to waterproof and tile such a large section.
Drainage and slope
This is where many walk-in projects go wrong. To drain properly, the floor must slope toward the drain at about 1.5–2 cm per metre. In a 120 cm × 90 cm shower zone, that means the far corner sits roughly two centimetres higher than the drain. If the slope is too gentle, water pools; if it's too steep, the floor feels uneven underfoot.
Older buildings in Orihuela Costa often have solid concrete slabs with limited height to play with. Raising the entire bathroom floor to create the slope isn't always possible, especially if it would block the door or create a step into the hallway (which the community statutes sometimes forbid). In those cases, you either recess the drain into the slab (requires breaking concrete, checking for pipes and rebar, and community permission if it's a shared structure) or accept a very shallow slope and use a high-flow linear drain.
A shower tray has a built-in slope molded into the base, so drainage is guaranteed. You just need to make sure the waste pipe has enough fall and isn't blocked by old mortar or limescale—common in Torrevieja's hard-water area.
Cost and installation time
A standard acrylic or resin shower tray costs between €150 and €400 depending on size and finish. Installation—levelling, connecting waste, sealing edges—takes half a day to a day. Tiling the walls and fitting the screen adds another day or two. Total materials and labour for a tray-based shower in a typical bathroom run roughly €800–€1,400, depending on tile choice and screen type.
A walk-in shower costs more in labour and materials. You need the waterproof membrane (€100–€200 for liquid kits or sheet membrane), mortar and materials to build the slope (€50–€100), a quality linear or point drain (€80–€250), extra tiles for the floor, and more careful work. Waterproofing and shaping the slope takes a full day; tiling another day or two because cuts must be precise around the drain. Total cost typically ranges from €1,200 to €2,200, sometimes higher if you choose large-format porcelain or natural stone and a premium drain with a tile insert.
Timeline: a tray-based shower is usually finished in three to four working days (demo, plumbing, tray install, tiling, screen, grout, silicone). A walk-in shower takes four to six days because waterproofing must cure between coats and the slope must set before tiling.
Free visit and quote, fixed price in writing and a guarantee on the works.
Practical Considerations for Cabo Roig, Playa Flamenca and Nearby Towns
Hard water and limescale
Water across Torrevieja, Orihuela Costa, Rojales and Guardamar is extremely hard—high calcium and magnesium content. Limescale builds up quickly on tiles, grout, glass and chrome. In a walk-in shower, you have more tile joints and a larger glass screen (or no screen at all), so you'll be wiping and descaling more often. Large-format tiles (60×120 cm or 80×80 cm) with rectified edges and narrow grout lines help, as does treating grout with a sealer.
A shower tray, especially a textured resin or stone-effect model, hides limescale better than glossy tiles, and the smaller tiled area means less scrubbing. If you hate maintenance, a tray with a simple hinged screen and anti-limescale coating is easier to keep clean.
Older buildings and structural limits
Many apartments in La Zenia, Playa Flamenca and Cabo Roig were built in the 1980s and 1990s with thin floor slabs and basic waterproofing. If you want a recessed walk-in drain, you may need to cut into the slab. That requires checking for rebar, existing pipes (often old galvanized steel or even lead in the oldest blocks), and getting permission from the community of owners if the slab is a shared structural element.
In some buildings, the statutes (estatutos) or community rules limit how much you can alter floors, especially if it affects the flat below. A surface-mounted walk-in shower—raising the entire bathroom floor—can work, but you must ensure the door still opens and the step into the hallway is safe and compliant. A shower tray avoids most of these headaches because it sits on top of the existing floor with minimal structural change.
Permits and community rules
Bathroom renovations in Spain generally require either a declaración responsable or a licencia de obra menor from the town hall, depending on the scope of work. If you're only replacing a tray, tiles and fixtures without moving pipes or walls, a declaración is usually enough. If you're breaking into the slab, moving drains or altering the layout significantly, you may need a licencia.
Rules vary by municipality: Torrevieja, Orihuela (which governs Orihuela Costa, Playa Flamenca, La Zenia, Cabo Roig), Guardamar del Segura, Pilar de la Horadada and Rojales each have their own requirements. Always confirm with the town hall or ask your contractor to handle it. If you live in a community of owners, notify the president in writing before starting work; some communities require you to submit plans and proof of insurance.
Reformas Baño Alicante includes a free home visit and fixed quote, and we guide clients through the permit process, so you know exactly what paperwork is needed before the first tile comes off.
Ventilation
Poor ventilation is the enemy of any shower, but especially walk-in designs where steam spreads across the whole bathroom. Older flats often have a small window or a weak extractor fan that doesn't shift enough air. After a hot shower, moisture condenses on tiles, mirrors and even the ceiling, feeding mould in grout lines and silicone seals.
If you're installing a walk-in shower, budget for a proper extractor fan (minimum 80 m³/h for a standard bathroom, ideally with humidity sensor) and consider a heated towel rail or underfloor heating to help dry the floor. A shower tray with a screen or curtain contains steam a bit better, but ventilation is still essential.
Step-by-Step: Installing a Walk-in Shower in Playa Flamenca
Here's the real sequence, based on a recent project in a 1990s apartment block:
Day 1: Demolition and preparation
- Remove old tray, tiles, screen and fixtures.
- Check the floor slab and existing waste pipe. In this flat, the old 40 mm waste was partly blocked with limescale; we replaced it with 50 mm PVC and checked the fall to the main stack.
- Clean and prime the floor and lower walls.
Day 2: Plumbing and drain installation
- Position the linear drain channel (stainless steel, tile-insert type, 80 cm long) along one wall.
- Connect to the waste pipe, ensuring at least 2 cm fall per metre.
- Build up the mortar bed around the drain, shaping a gentle slope from the far wall (about 1.8 cm over 90 cm).
- Let the mortar set overnight.
Day 3: Waterproofing
- Apply first coat of liquid polyurethane membrane to the entire shower area, up the walls to 30 cm above the finished floor, and over the drain flange.
- Reinforce corners and edges with waterproof tape.
- Apply second coat after four hours.
- Let cure overnight (manufacturer recommends 24 hours before tiling).
Day 4–5: Tiling
- Lay large-format porcelain tiles (60×60 cm, anti-slip R11 rating) on the floor, cutting precisely around the drain channel.
- Tile the walls with matching or contrasting tiles.
- Use flexible tile adhesive and grout (essential in coastal areas where slight movement occurs).
- Fit the tile insert into the drain channel so it's flush with the floor.
Day 6: Screen, fixtures and finishing
- Install a frameless glass screen (10 mm toughened glass, 100 cm wide, fixed panel plus hinged door) to contain spray.
- Fit the thermostatic shower valve, overhead rain shower and hand shower.
- Seal all edges with neutral-cure silicone (acetoxy types can corrode in salty air).
- Final clean and inspection.
Total time: six working days. Cost for this project, including materials, labour, screen and taps: approximately €1,850.
Step-by-Step: Installing a Shower Tray in Cabo Roig
A simpler renovation in a small bathroom:
Day 1: Demolition and preparation
- Remove old tray, tiles and screen.
- Check waste pipe and replace if corroded (common in older buildings).
- Clean and level the floor area.
Day 2: Tray installation
- Position the new resin shower tray (80×80 cm, stone-effect, ultra-slim 2.5 cm profile) on adjustable feet or a mortar bed.
- Level carefully with a spirit level.
- Connect the waste and test for leaks.
- Seal the edges where the tray meets the walls with waterproof tape, ready for tiling.
Day 3: Tiling
- Tile the walls around the tray with ceramic tiles (25×50 cm, white gloss).
- Use flexible adhesive and grout.
- Seal the joint between tray and tiles with silicone.
Day 4: Screen and fixtures
- Fit a hinged glass screen (6 mm toughened glass, chrome frame, 80 cm).
- Install the shower valve and head.
- Final silicone seals and clean.
Total time: four working days. Cost: around €950, including tray, tiles, screen and taps.
Common Mistakes and How to Avoid Them
Insufficient slope in walk-in showers: Water pools in the far corner or around your feet. Always aim for at least 1.5 cm per metre, and test with a bucket of water before tiling.
Skipping the waterproof membrane or applying it too thin: Even one pinhole can cause a leak months later. Use a quality liquid membrane or sheet system, apply multiple coats, and reinforce every corner and penetration.
Choosing the wrong drain size or position: A small 50 mm point drain can't handle a large rain shower head at full flow. For walk-in showers over 100 cm wide, a linear drain (minimum 60 cm long) works better and allows a neater tile layout.
Ignoring the fall of the waste pipe: If the pipe run is too long or too flat, the drain will gurgle and smell. Check the existing pipe and replace or re-route if necessary.
Using cheap silicone: Acetoxy silicone releases acetic acid, which can corrode chrome and discolour in salty coastal air. Always use neutral-cure, mould-resistant silicone rated for wet areas.
Not sealing grout in hard-water areas: Unsealed grout absorbs limescale and turns grey within months. After grouting, apply a penetrating sealer (available from tile suppliers in Torrevieja or Alicante) and reapply every year or two.
Forgetting ventilation: Even the best waterproofing won't stop mould if the bathroom stays damp. Fit a proper extractor fan and leave it running for 20 minutes after every shower.
Which Option Suits Your Home?
Choose a walk-in shower if:
- You want a modern, seamless look and maximum perceived space.
- Your bathroom is at least 4–5 m² and the floor structure allows for a slope or recess.
- You're comfortable with higher upfront cost and slightly longer installation.
- You value accessibility—no step, easy for older users or wheelchairs.
- You're renovating the whole bathroom and can integrate underfloor heating and good ventilation.
Choose a shower tray if:
- Your bathroom is small (under 4 m²) or has structural limits (thin slab, restricted height, community rules).
- You want a faster, lower-cost installation.
- You prefer a clear, contained shower zone with less risk of water spreading.
- You're replacing an existing tray in the same footprint (minimal plumbing changes).
- You want easier maintenance and cleaning in a hard-water area.
Neither option is inherently better; it depends on your building, budget, taste and how you use the bathroom. In my experience across La Zenia, Playa Flamenca, Cabo Roig and Torrevieja, about 60 per cent of clients now choose walk-in showers in full renovations, while tray replacements remain popular in smaller updates and rental properties where cost and speed matter most.
Materials and Suppliers
For both walk-in showers and trays, here's what I typically specify:
Tiles: Large-format porcelain (60×60 cm, 60×120 cm or 80×80 cm) from brands like Pamesa, Keraben or Aparici, available at tile shops in Torrevieja, Alicante and Elche. Anti-slip rating R10 or R11 for floors. Expect €15–€35 per m² for mid-range porcelain, more for natural stone or premium finishes.
Waterproof membranes: Liquid polyurethane (Köster, Sika, Mapei) or sheet membranes (Schlüter KERDI). Liquid kits for a standard shower area cost €100–€200; sheet systems slightly more but faster to apply.
Drains: Linear drains from Viega, Geberit or Wirquin (€100–€250 depending on length and finish). Point drains €50–€100. Choose stainless steel or chrome to resist coastal corrosion.
Shower trays: Acrylic trays €150–€250, stone-resin trays €250–€400, depending on size. Brands like Roca, Duravit, Ideal Standard are reliable and widely stocked.
Screens: Frameless 10 mm toughened glass €300–€500, framed 6 mm glass €150–€250. Hinged doors are more practical than sliding in small spaces.
Taps and valves: Thermostatic mixer valves (Grohe, Roca, Tres) €120–€300. Overhead rain showers €60–€200. Always choose chrome or stainless finishes; brushed nickel and matte black look great but can show limescale more.
Final Thoughts
The walk-in shower vs shower tray Spain question doesn't have a one-size-fits-all answer, especially here on the Costa Blanca where building age, water quality, humidity and community rules all play a role. A walk-in shower offers a sleek, spacious, accessible solution but demands careful waterproofing, proper slope and a bit more investment. A shower tray is faster, cheaper, easier to install and often safer in older buildings with structural quirks.
I've fitted both types in hundreds of homes from Guardamar to Pilar de la Horadada, and both work beautifully when done right. The key is honest assessment of your bathroom's structure, your budget and your priorities. If you're unsure, a site visit by an experienced contractor—Reformas Baño Alicante offers a free consultation and fixed quote—will quickly show which option suits your floor height, waste pipe layout and community rules.
Whichever you choose, insist on quality waterproofing, proper ventilation, anti-slip tiles and neutral-cure silicone. In this climate, those details make the difference between a shower that lasts fifteen years and one that leaks or grows mould within two.
FAQ
Is a walk-in shower more expensive than a shower tray in Spain?
Yes, typically a walk-in shower costs €1,200–€2,200 including waterproofing, slope, drain and tiling, while a shower tray installation runs €800–€1,400. The extra cost comes from more labour, waterproof membranes, building the floor slope and a quality linear or point drain. A tray is pre-formed and faster to fit.
Do I need permission from my community of owners to install a walk-in shower?
You should notify your community president in writing before starting, especially if you're cutting into the floor slab or altering shared structures. Some communities require you to submit plans and proof of insurance. You'll also need a declaración responsable or licencia de obra menor from the town hall, depending on the scope of work.
Which is better for small bathrooms in Torrevieja or Orihuela Costa?
A walk-in shower can make a small bathroom feel larger because there's no visual barrier, but only if you have enough floor height to create the slope. If your bathroom is under 4 m² or the floor slab is thin, a low-profile shower tray (2.5 cm high) is often more practical and avoids structural complications.
How do I stop a walk-in shower from leaking in an older building?
Use a quality liquid or sheet waterproof membrane applied in multiple coats, reinforce all corners and edges, ensure a proper slope (at least 1.5 cm per metre) toward the drain, and use flexible tile adhesive and grout. Test the waterproofing with water before tiling, and make sure the waste pipe has enough fall to drain freely.
Can I install a walk-in shower without raising the bathroom floor?
Yes, if you recess the drain into the existing slab, but this requires cutting concrete, checking for pipes and rebar, and often permission from the community of owners. In many older buildings in La Zenia, Playa Flamenca and Cabo Roig, this isn't practical, so you either raise the floor slightly or choose a shower tray instead.